Categories are one of the most important tools you have for organizing your WordPress content. However, on a normal WordPress site, Categories are only available for Posts.
If you want to organize your Pages in the same way as you organize Posts, the solution is a plugin such as TaxoPress. This plugin allows you to add Categories to Pages. You can also show both Posts and Pages together, if they share a taxonomy term.
This guide will show you how to organize your WordPress Pages with Categories.
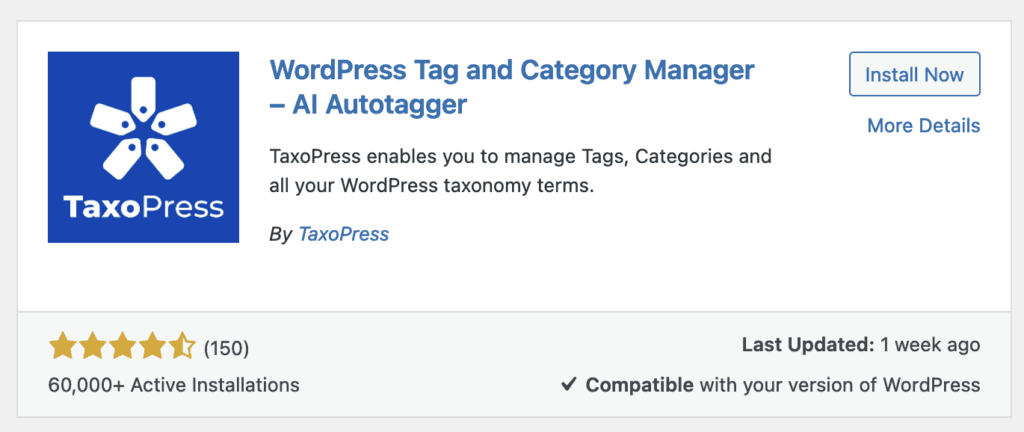
Start by installing the TaxoPress plugin. There’s a free version from WordPress.org. This screenshot below shows how the TaxoPress plugin will appear when you search for it from your “Plugins” screen.
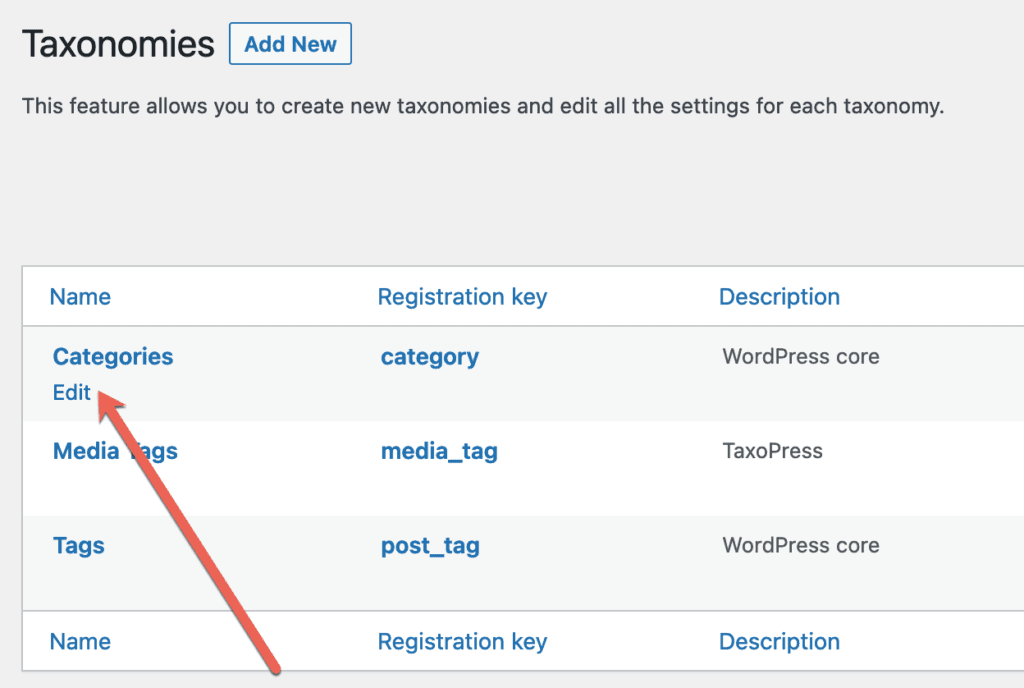
Once the plugin is active, go to “TaxoPress” in your WordPress admin area. Click the “Taxonomies” link and then click “Edit” under the “Categories” link, as in this screenshot below:
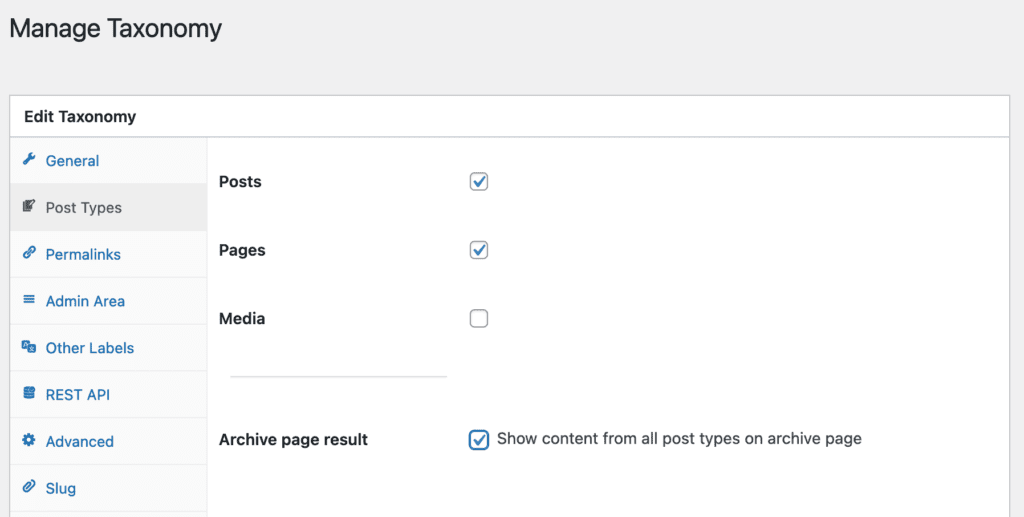
Go to the “Post Types” tab and check the box for “Pages”. I recommend that you also check the box “Show content from all post types on archive page” because this will make sure your Posts and Pages will be both shown together on the archive pages.
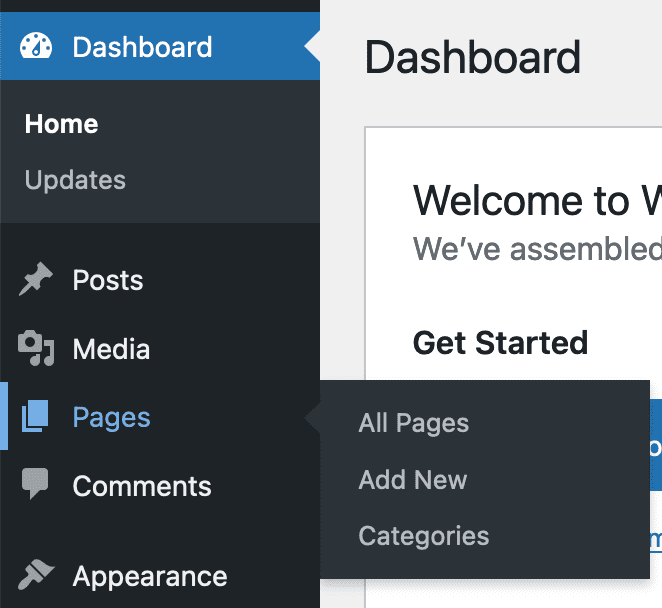
Go to your WordPress admin menu, and you can now see that “Categories” are available under “Pages”:
- When you are editing a Page, you can now see the “Categories” box in the right sidebar.
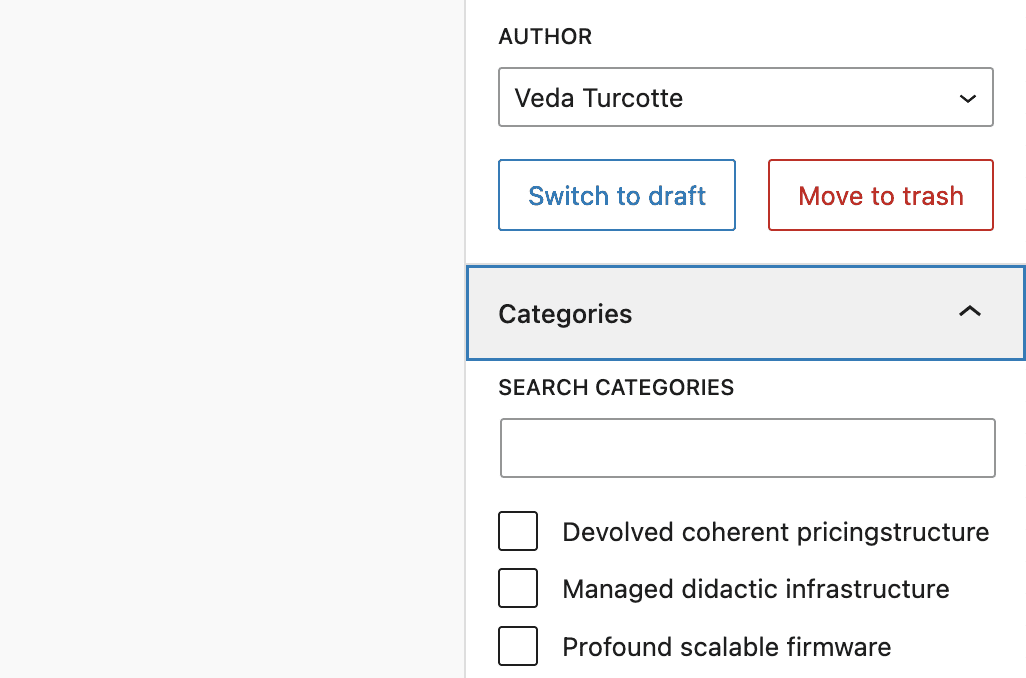
After you make this change in TaxoPress, you will also be able to add and remove Categories using the “Quick Edit” and “Bulk Edit” options, as in this next screenshot:

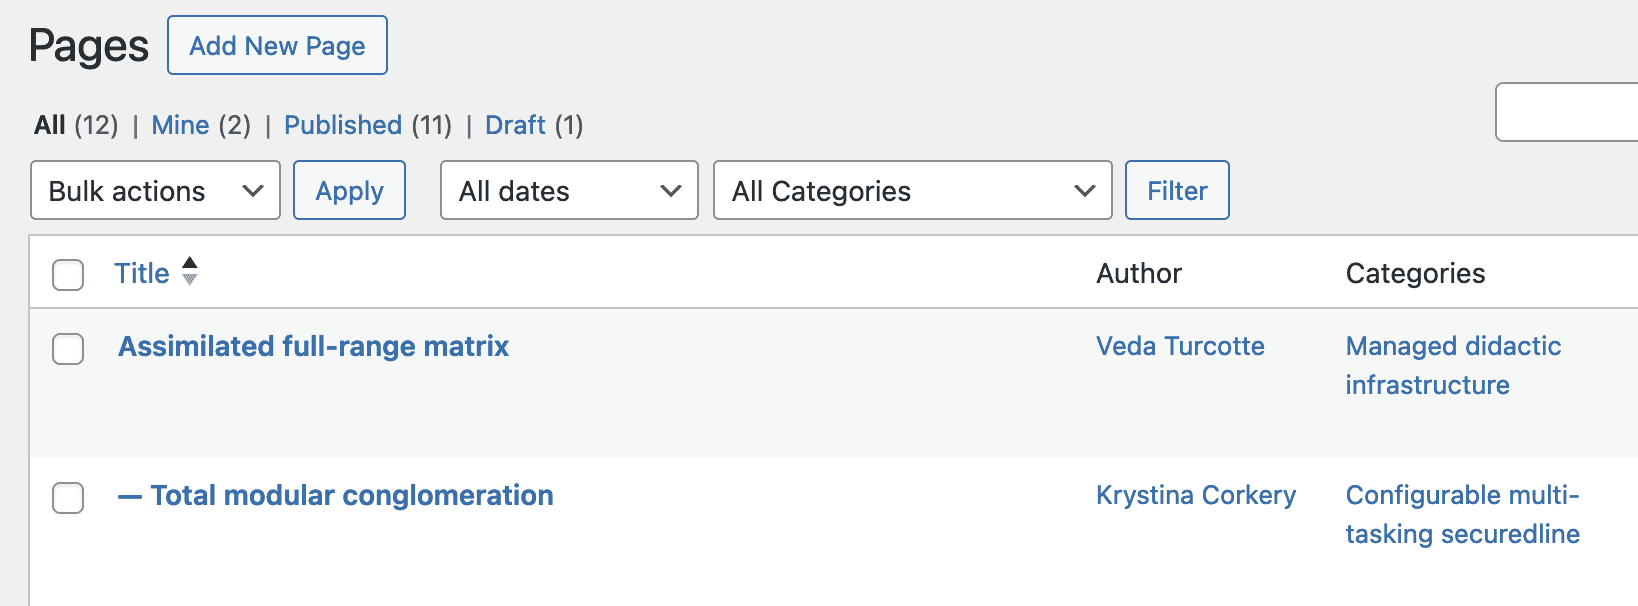
There will be a new “Categories” column on the “Pages” screen, as you can see in this screenshot:
Congratulations. You have now successfully added Categories to your WordPress pages. You can also use TaxoPress to customize where your Categories appear in the WordPress admin area.
