A MetaSlider user approached us this week and asked if it was possible to show a rotating series of images in a carousel. They wanted several images to be visible at the same time, with a caption over each image. Ideally, the images will automatically refresh every few seconds and there will be arrows if the user wants to move more quickly.
All of this certainly is possible with MetaSlider, and in this guide we’ll show you how it’s done. This image below gives you an idea of the end result.

If want a video guide, here’s a YouTube tutorial to get you started. If you want the text and image version, keep reading further down the page:
To get started with this tutorial, make sure you have the MetaSlider plugin installed.
This is possible with MetaSlider. In this guide, we’ll use the sample data provided with the MetaSlider plugin.
- Go to “Quick Start” in your WordPress admin area.
- On the right side of the screen, choose “Carousel Slideshow”.
- Click “Create a Slideshow”.

- Click the “Add Slide” button and add some more images to start your slideshow.
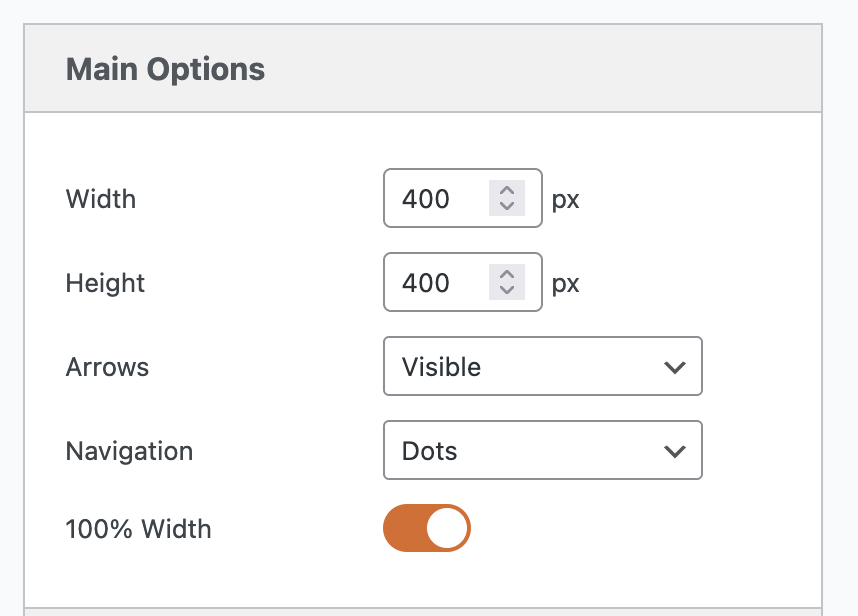
Look in the right sidebar and choose the width of your slideshow. In this example, I’ve set both the width and the height to be 400px so my image displays will be square. If you do want multiple images to show at the same time, make sure the “Width” is narrower than your container – the space on the website where you want to place this carousel.
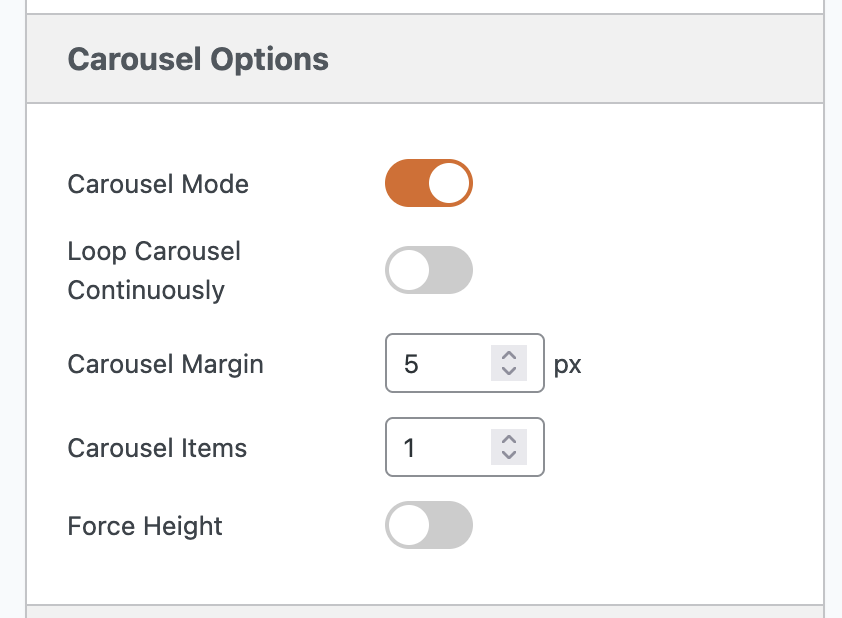
- In the “Advanced Settings” area, check the box for “Carousel mode”.

- This will enable a new set of options for your carousel:
- Click the “Preview” button in the toolbar at the top of the screen.
- You will now see your carousel in action. This is the first draft of your carousel and gives you an idea of what it will look like. When you’re ready, you can click the X in the top-right corner and make some changes.

It is possible to create a carousel slideshow with any type of slides. In the image below we have created a carousel slideshow with YouTube slides. You can create carousels with Vimeo slides, Layer slides, or anything else that’s available in MetaSlider.
Here’s a sample carousel that was built with MetaSlider:
Table of Contents for this post
Making adjustments to the slideshow carousel
Now that the basic features of the carousel are in place, you can make adjustments to match the original design.
One thing you can do is click “Enter manually” and enter a caption for your images.
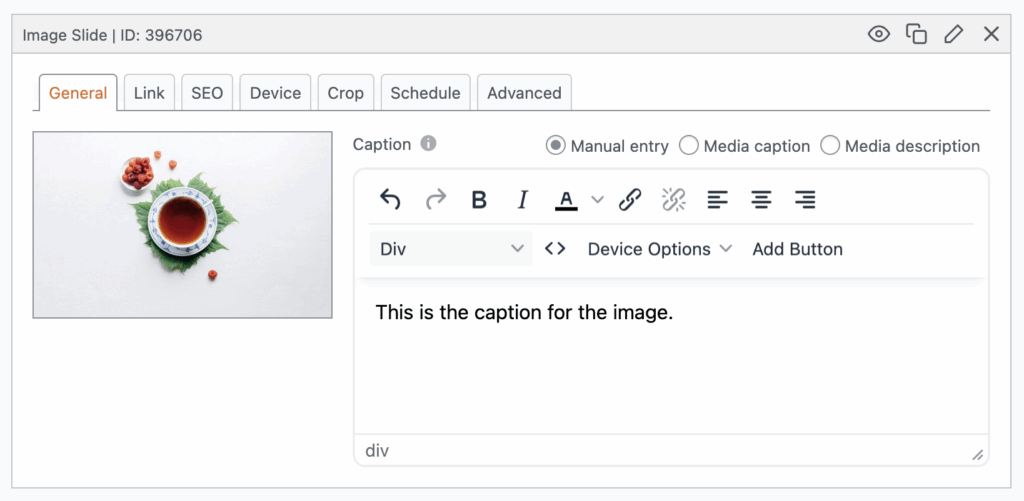
Simply adding captions is enough to get them added to your carousel. Click “Preview” and this image shows what you will see.

Next, you may want to experiment with different themes.
- In the right sidebar, look for the “Slideshow Theme” box and click “Select a custom theme”.
- You can browse the various themes and find the best fit for your site. One suggestion that may be close to our initial design is the “Outline” theme. Here’s a list of all the available themes.

- Choose a new theme and then click the “Preview” button.
- This image below shows the “Outline” theme on our carousel.

This design is now close to our initial goal. We may need to add a little CSS to make the font larger, or modify the color of the Previous / Next arrows. You can add that CSS via your theme, or you can do that using the Theme Editor in MetaSlider Pro.
Making the Carousel Live on Your Site
When you’re ready, you can add MetaSlider to a post, page, or your site layout. MetaSlider works great with the Gutenberg editor and all leading page builders. Click here for ways to add MetaSlider to your site. In this next image, I’m adding MetaSlider to the new Full-Site Editing system in the WordPress core.
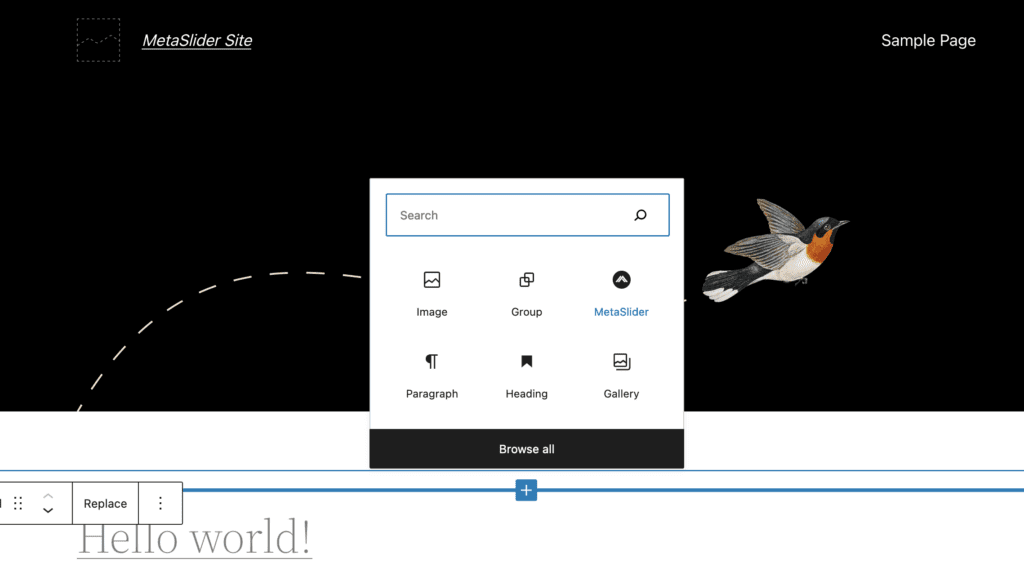
When I save the new MetaSlider block and the WordPress design, I can visit the front of the site and see the carousel in action.

WordPress Carousel Summary
A carousel is a stylish way to showcase images on your site. You can spice up your carousel with additional features such as using partial images on either side of the main image. You can also use YouTube videos in your carousel, or locally hosted videos.


How do I add a link to the background image??
Hi Andy. Thanks for using MetaSlider. That’s possible in MetaSlider Pro with the “Layer Slide” feature: https://www.metaslider.com/layer-slides-metaslider/