
When you use MetaSlider, you have many different options for creating stylish slideshows. MetaSlider has dozens of theme options to suit every kind of site.
However, MetaSlider Pro also allows you to create completely new themes that can easily be added to new slideshows. We’ll show you how it’s done in this guide.
If you’re a developer, we also offer a way to code your own custom themes.
Table of Contents for this post
The default themes in MetaSlider
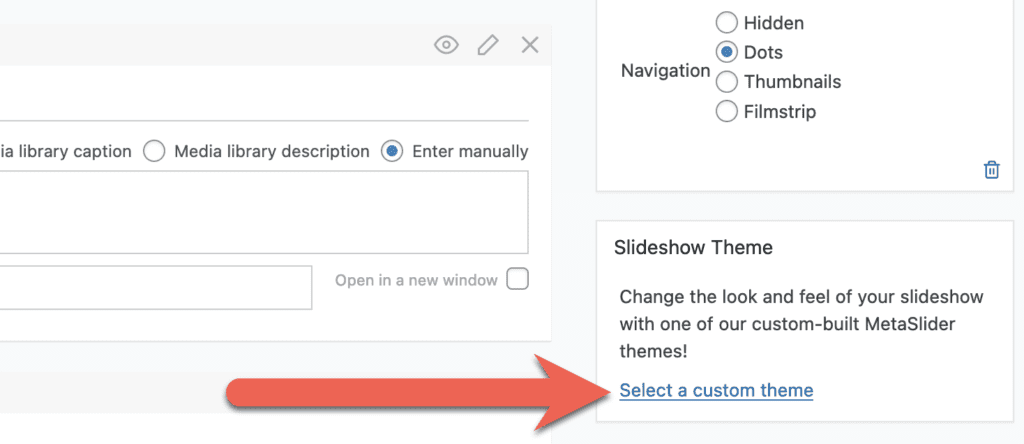
To get started, let’s take a look at the themes that arrive with MetaSlider. When you’re editing a slideshow, look for the “Select a custom theme” link in the right sidebar:
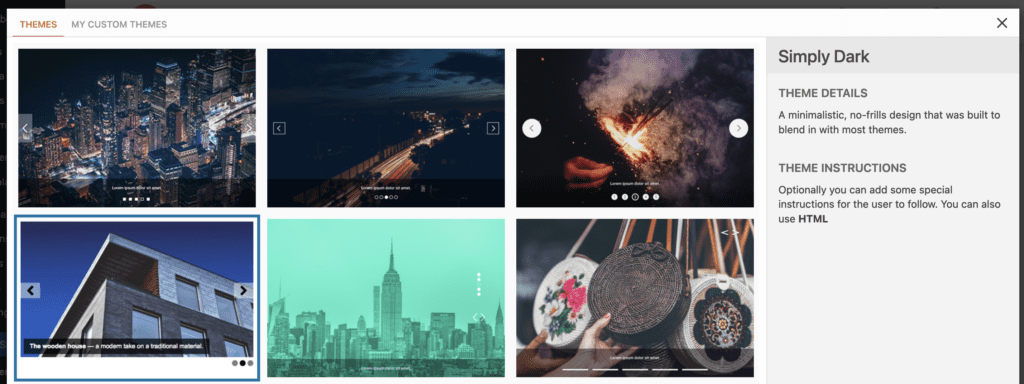
After you click the “Select a custom theme” link, you’ll see a modal window with many different theme options. Each one has a different style for the background, navigation arrows, captions and more. In this screenshot below, you can see six themes: “Cubic”, “Outline”, “Bubble”, “Simply Dark”, “Jenga”, and “Disjoint”. You can click the “Preview” to get a clear idea of how each theme will appear. Click here for details on all the default themes.
Introducing the MetaSlider Pro Theme Editor
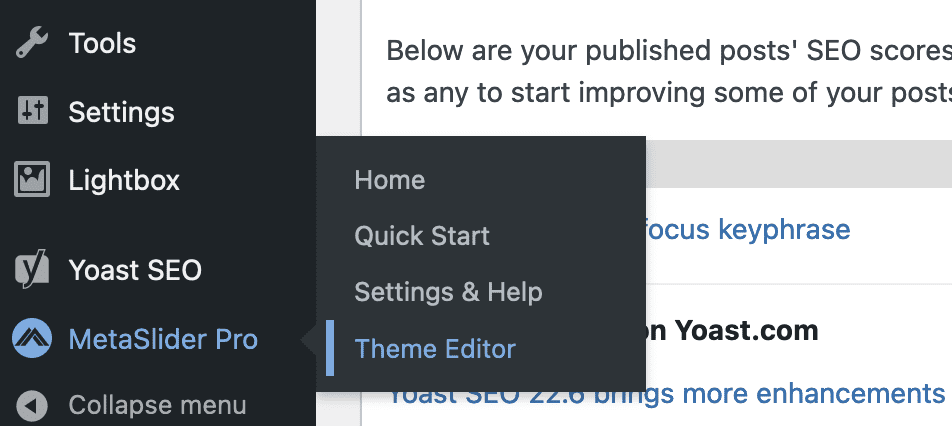
Now let’s take a look at how to create your own unique themes. If you’re using MetaSlider Pro, look for the “Theme Editor” link in the WordPress admin menu:
In the top-right corner, choose a slideshow you have already created. MetaSlider will use this as a preview, so you can get an accurate idea of how your theme looks.
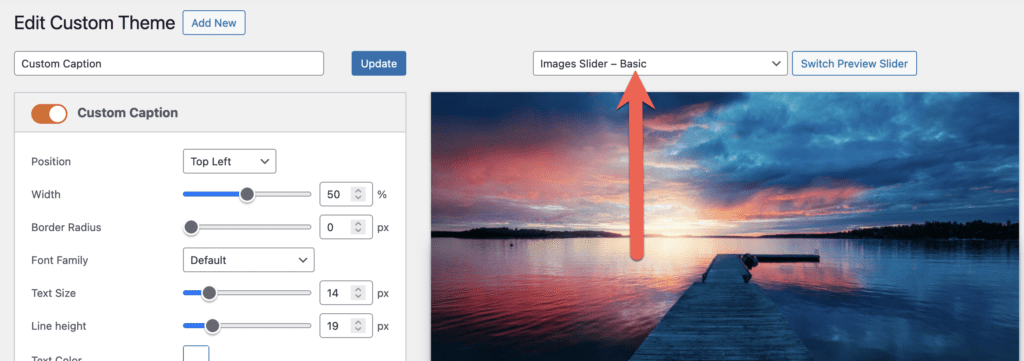
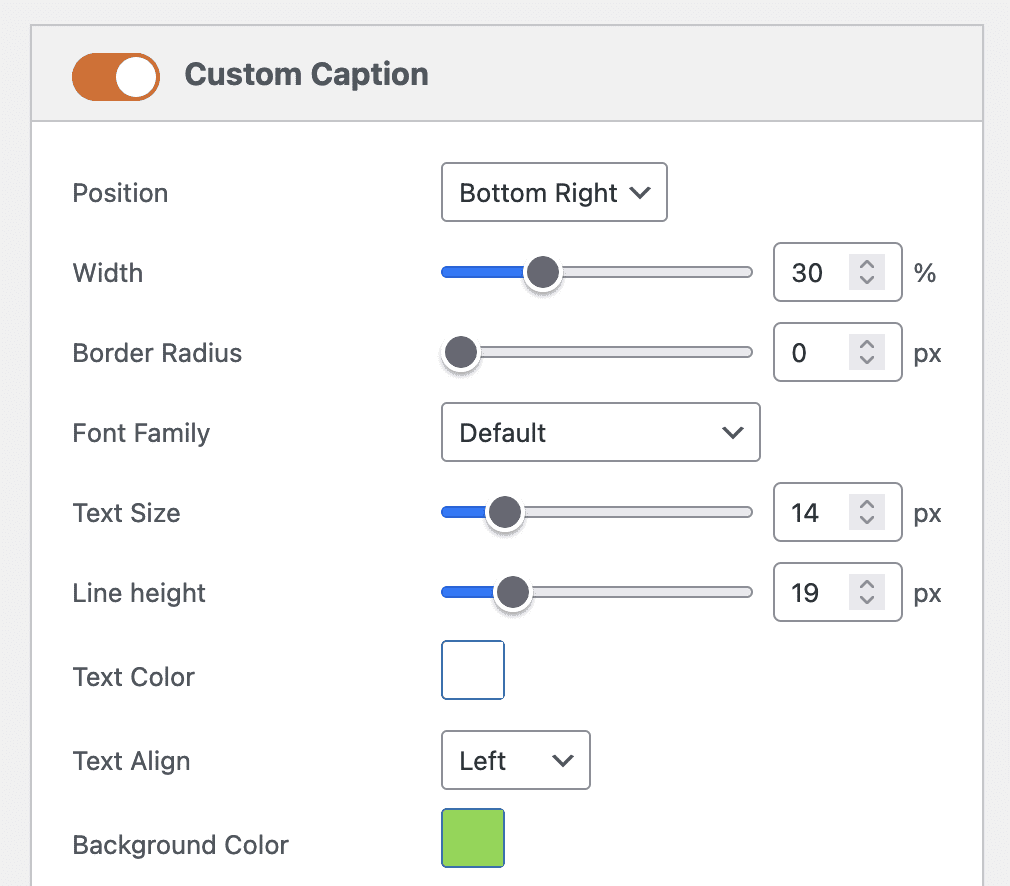
Now, in the left column, you can make changes to your theme. For example, in the screenshot above, the caption is in the bottom left corner of the image. I’m going to make several changes to the settings in the “Caption” area. You can see my changes in the list and screenshot below.
- Position: Top Right
- Width: 30%
- Text Align: Right
- Background Color: Green
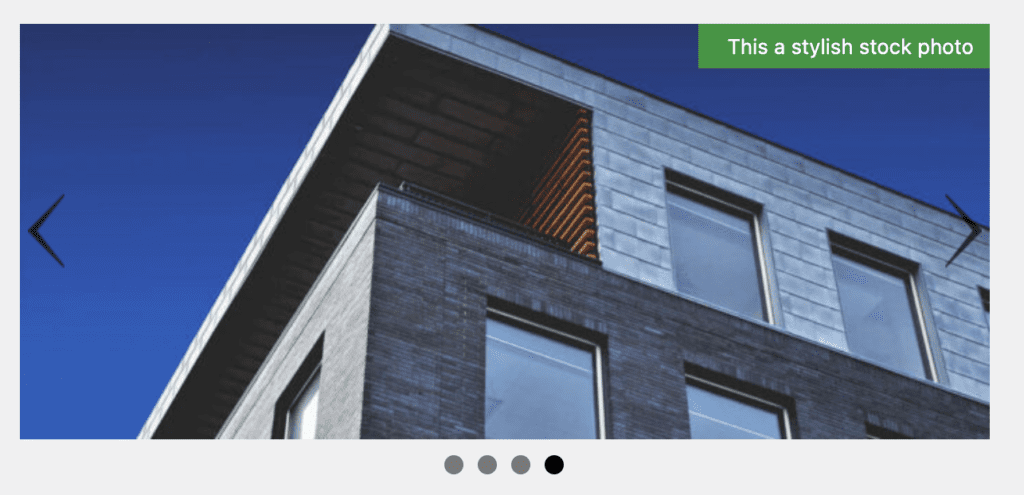
In the next image below, you can see the result of those changes. The caption has moved to the opposite corner, and it is on a different color background.
Another example of a change you can make is with the navigation arrows. The default arrows are skinny and black, as you can see in the image above. You can choose your own navigation arrows in the “Arrows” area of the left sidebar. If you want, you can use the “Custom Prev Arrow” and “Custom Next Arrow” boxes to upload your own icons. Or you can use the “Built in Styles” box to choose from icons provided by MetaSlider.
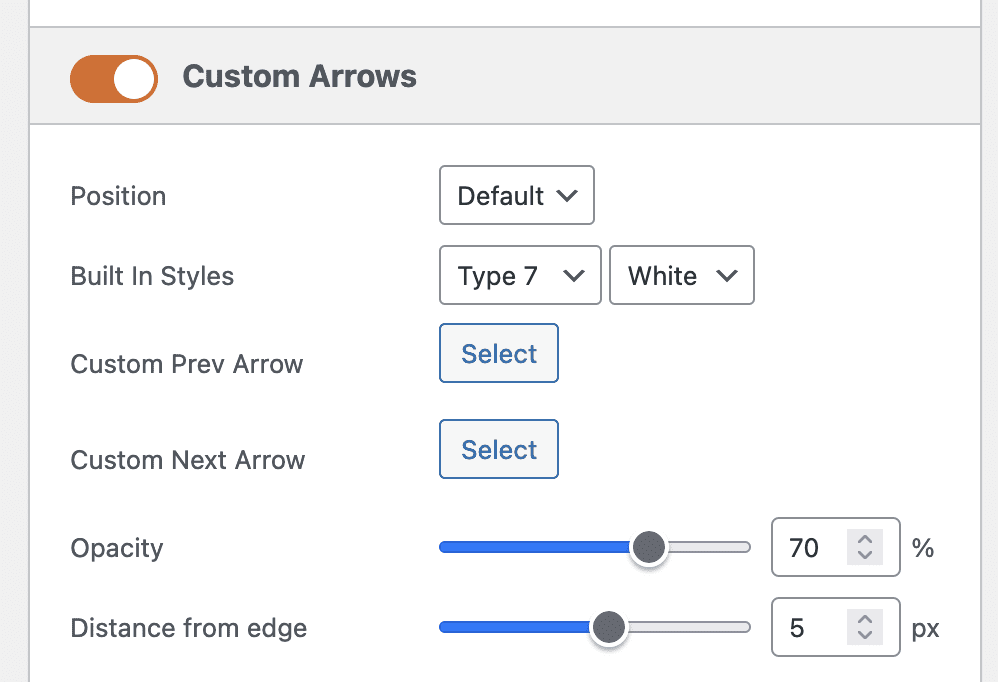
In this image below, I’ve selected “Type 16” and “White”. This gives me arrows that are thick and white instead of thin and dark.

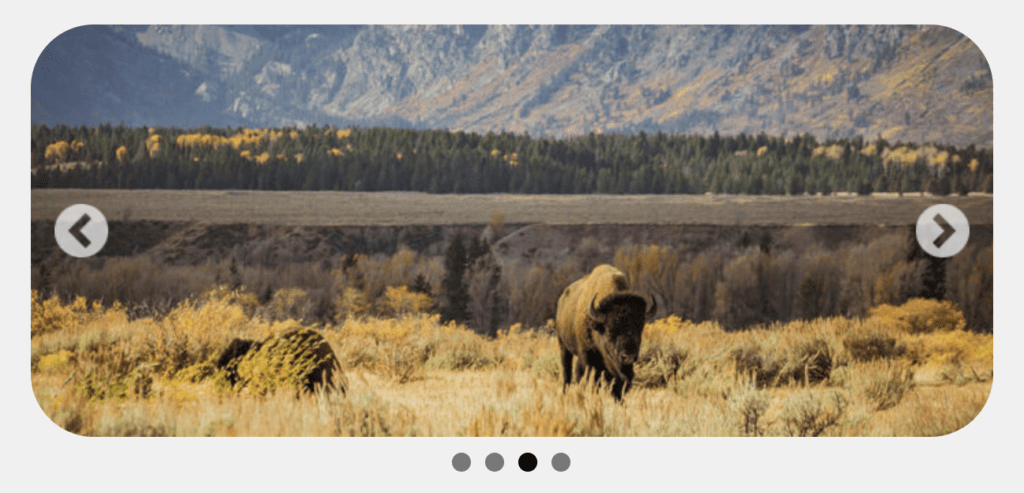
You can use MetaSlider’s theme editor to change many key elements of your slider. To take another example, you change the “Outer Border Radius” setting to give curved corners to your slideshow as in this image below:
If you’re using MetaSlider Pro, give the Theme Editor a try and spice up your slideshows. If you need more ideas for stylish presentation, you can also try the Layer Slides feature, displaying your slideshow in a lightbox, or creating a text and image carousel. We work to make sure all the themes help you build accessible slideshows and fast slideshows.
Get the best WordPress slideshow plugin
MetaSlider Slideshow is the best WordPress slider plugin.
You can show create stylish sliders using images, videos and more.