
We had an interesting question from a MetaSlider user recently. They wanted to build an image carousel for their client. They followed our slider carousel guide and everything was working correctly. However, the client had an extra request. They wanted to show the carousel with partial images on either side. In the screenshot below, you can see about 20% of the left and right images are showing.
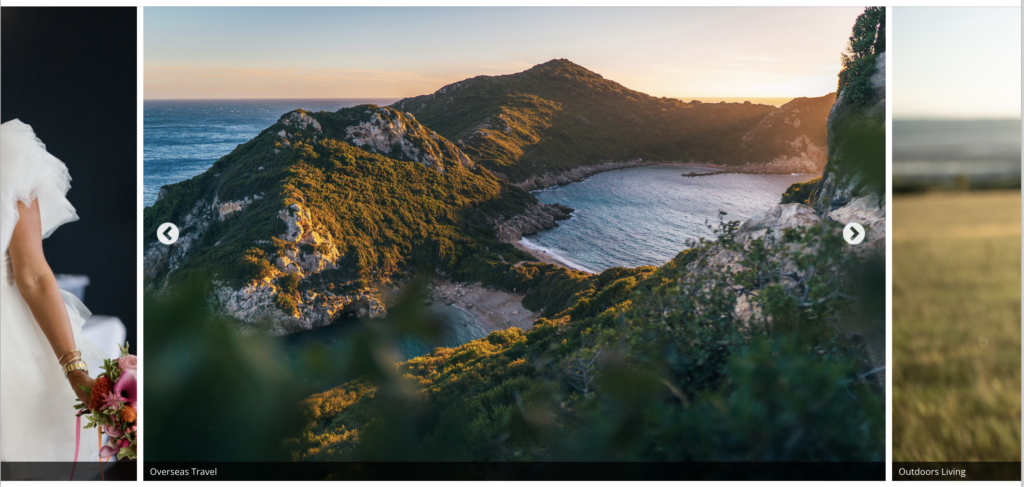
This screenshot below is taken from ShaneWebber.com and is a preview of the style that our customer wanted.
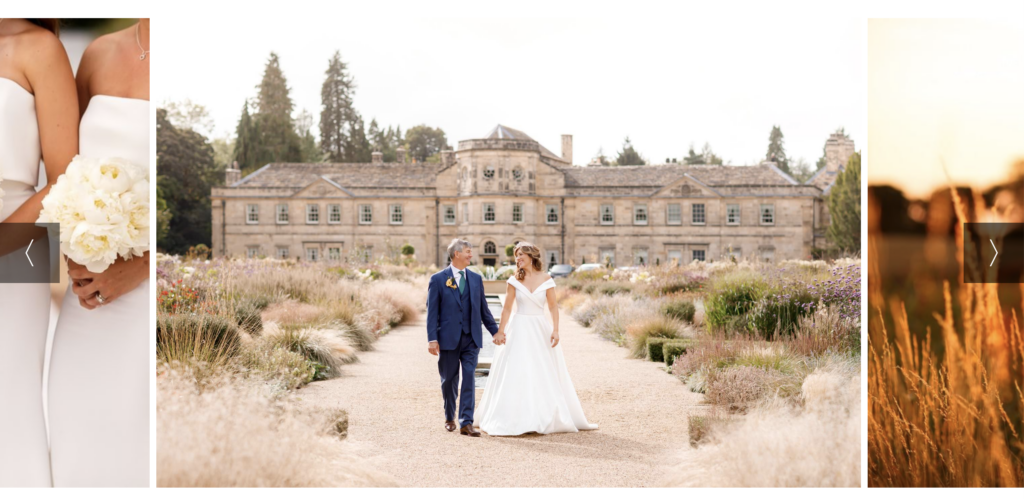
Table of Contents for this post
Step #1. Create the Carousel Slideshow
To create a slideshow like the one in the image above, get started by creating a slideshow. Check the guide to creating a carousel slideshow. I recommend having a good number of images in your slideshow because at least three images will always be visible.
Inside your MetaSlider slideshow‘s settings, here are some recommended settings in the “Advanced Settings” area:
- 100% width: Check this box if your slideshow will fill a large container on your site.
- Loop: Set to “Continuously” in the “Advanced Settings” area if you’re using MetaSlider Pro.
- Carousel mode: Check this box in the “Advanced Settings” area.
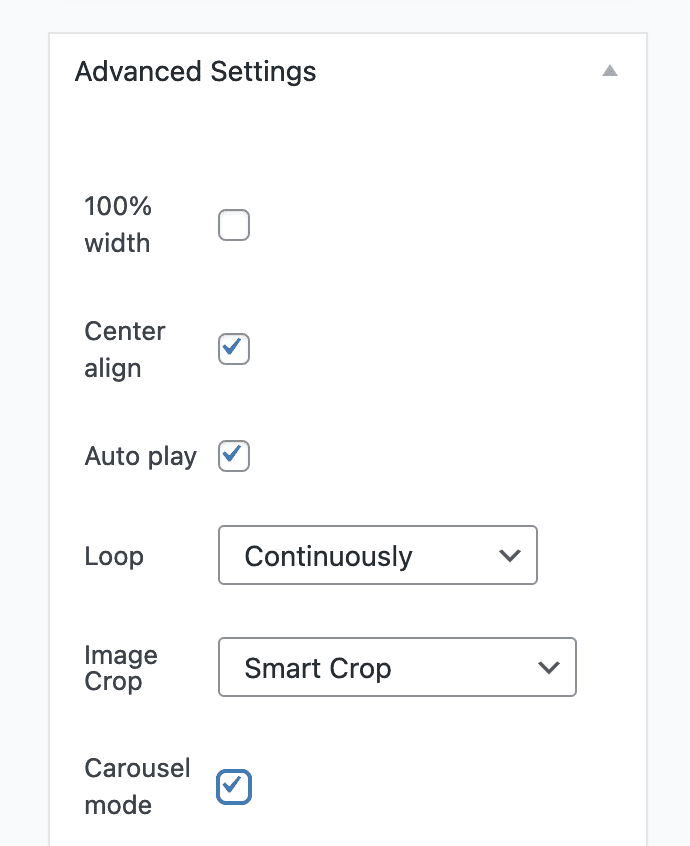
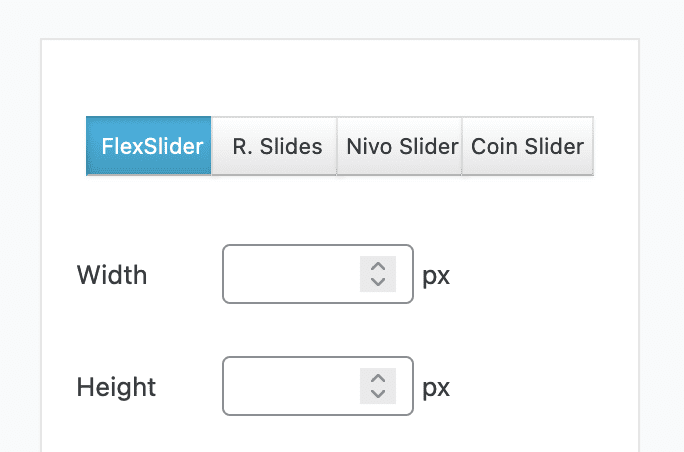
- I would also recommend saving empty values for the “Width” and “Height” boxes so that your slideshow will fill the full width of its container.
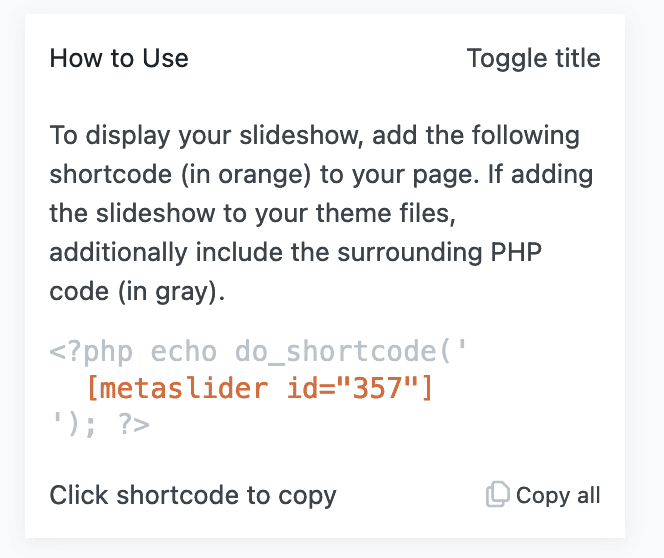
You will need to find the ID number of your slideshow. There are several ways to do this, but one method is to look for the shortcode of the slideshow. In this image below, the shortcode is using the ID of 357.
Step #2. Add code to customize your slideshow
The second step is to add custom code to your site.
Add this code below to your theme’s functions.php file. You can also include this code in a “Must Use Plugin”. You will need to replace “500” in this code with the ID of your slideshow, which in our example would be “357”.
You should also add this CSS to your site. Try changing the max-width and the two width values until the active image is centered and the images on the left and right are showing. You should also replace all uses of “500” with your slideshow ID.
The CSS changes you make will have a big impact on your final slideshow. The carousel below shows the final product from the customer who made the initial inquiry. They now have a full-width image in the center of the screen with a glamorous preview of the image on the left and right. This is a great way to get your visitors’ attention and have them scroll through the slideshow to see more of your work.
More helpful slideshow customization with MetaSlider
We have more ideas available for useful slideshow effects. For example, you can create a very similar slideshow to the one in this guide, but with a large hero image.
You can use the “Ken Burns” panning effect. You can create a thumbnail navigation so visitors can preview images and also use them to navigate to a specific slide. You can also have slides appear in a lightbox so visitors can see a larger, higher-resolution version of each image.
Get the best WordPress slideshow plugin
MetaSlider Slideshow is the best WordPress slider plugin.
You can show create stylish sliders using images, videos and more.