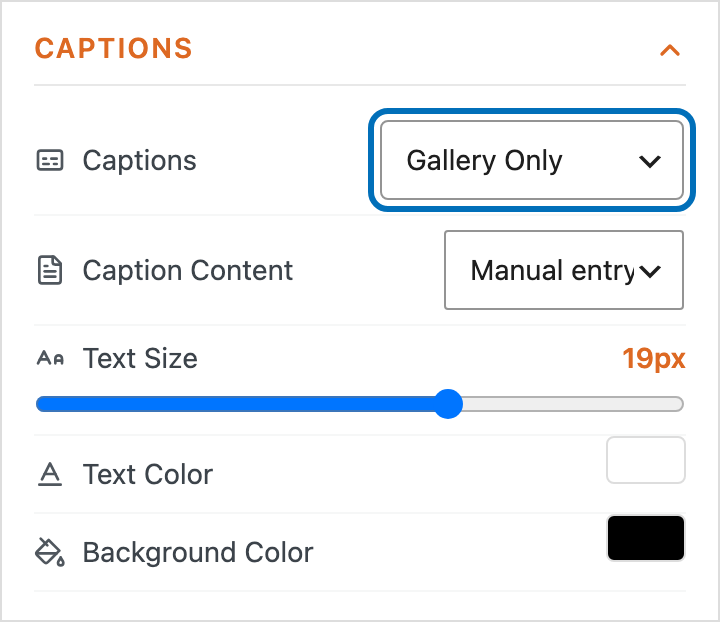
Captions let you add a line of text to each image in your MetaSlider Gallery, shown on the gallery thumbnails, in the gallery window, or both. You can type a caption yourself or pull it from the image’s Media Library caption or description.
How to Add or Edit a Caption #
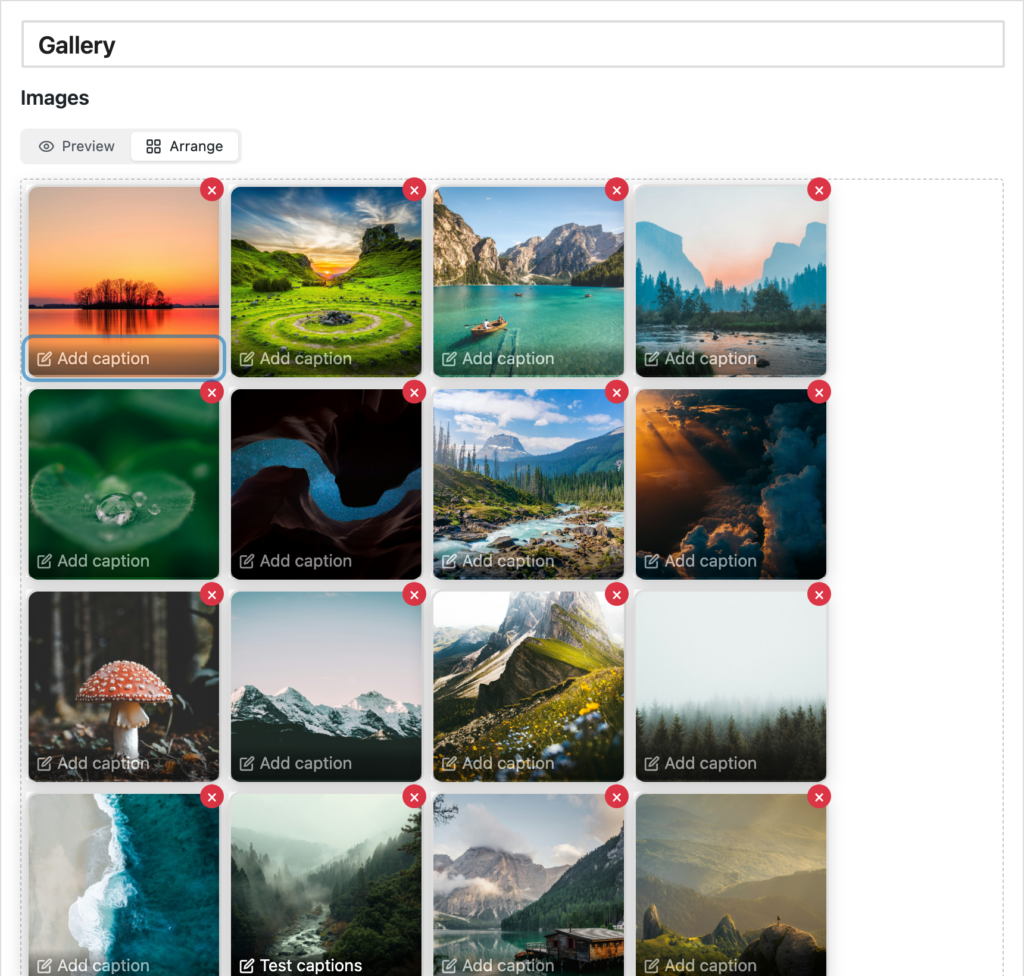
Every image in the gallery editor has a caption bar along its bottom edge. When an image has no caption yet, the bar reads ‘Add caption’; once a caption is set, the bar shows its text.
Open your gallery in the editor. If it opens in preview, click ‘Arrange’ above the images so you can see each caption bar along the bottom of a thumbnail.
Click the caption bar to open the caption editor. Type your caption in the text area, and use the formatting toolbar to add bold, italics, or links. The preview on the left updates as you type so you can see how the caption will look over the image. The tabs above the editor — ‘Manual entry’, ‘Media caption’, and ‘Media description’ — let you enter text for each source separately, and the tab marked with an orange dot is the source currently shown in your gallery.
Use the arrows at the top of the editor to move to the previous or next image without closing the window — your text is saved as you go. When you have finished, click ‘Done’.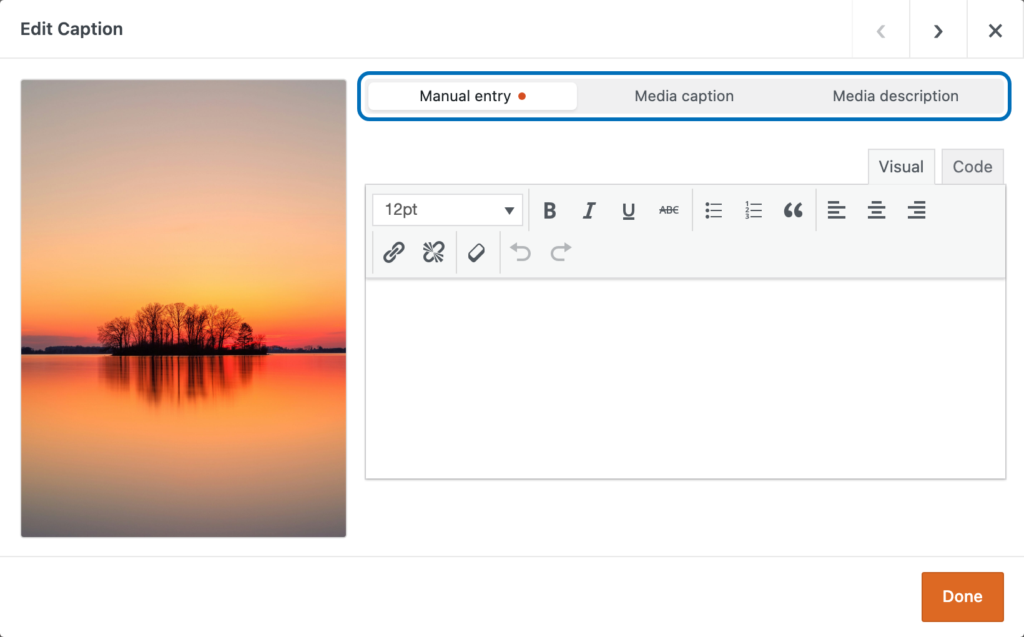
How to Choose Where a Caption’s Text Comes From #
By default each caption is whatever you type in, but you can have the gallery pull its text from the image’s Media Library fields instead. This is useful when you have already written captions or descriptions when uploading your images.
In the settings sidebar, open the ‘Captions’ panel and find the ‘Caption Content’ menu. Choose ‘Manual entry’ to use the text you type, ‘Media caption’ to use each image’s Media Library caption, or ‘Media description’ to use its description.
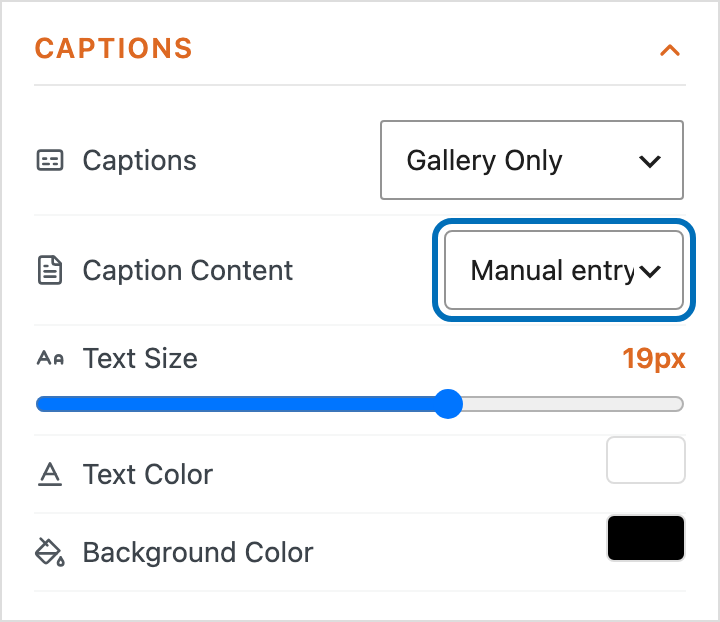
Whatever you choose in ‘Caption Content’ is the only source that displays in your gallery, and the matching tab in the caption editor is marked with an orange dot so you always know which one visitors will see. You can still edit the other tabs, though — each source keeps its own text whether or not it is the one on show, so you can prepare a manual caption and a media caption side by side and switch between them at any time by changing this setting. If an image’s chosen media field is empty, the gallery falls back to the caption you typed.
How to Choose Where Captions Appear #
You can show captions in different places, or turn them off entirely, without losing the text you have written.
In the ‘Captions’ panel, use the ‘Captions’ menu to choose where captions appear. Select ‘Gallery + Window’ to show them on the thumbnails and in the gallery window, ‘Window Only’ or ‘Gallery Only’ to show them in one place, or ‘Hidden’ to hide them.
Your gallery now shows captions the way you chose, with the text coming from whichever source you selected.