
MetaSlider 3.61 and MetaSlider Pro 2.33 are available now and these releases have some really cool improvements. The most important new feature is a “Mobile” tab that allows you to show different slides to different screen sizes.
Lots of MetaSlider users requested this feature so that they can customize their slideshows for different devices. For example, on a mobile phone you can show a styling fast-loading image with no caption. But on a large desktop screen you can show a large, high-resolution image with a caption.
Table of Contents for this post
Mobile and Screen Size Options
The first version of the mobile settings was available when MetaSlider 3.60 arrived. Over the last few weeks we’ve been testing and improving this feature, so with version 3.61, the mobile settings are enabled by default.
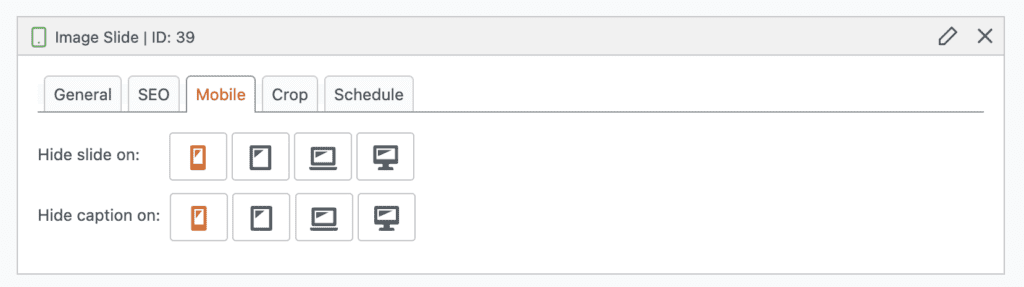
In the MetaSlider slideshow editing area, you’ll now see a “Mobile” tab. Here you can choose to hide your slides on some device sizes. We provide four breakpoints by default:
- mobile
- tablet
- laptop
- desktop
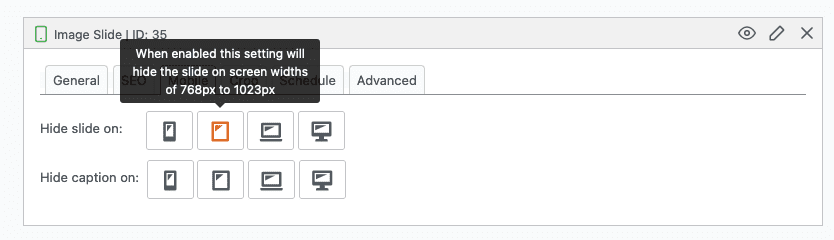
Each icon has a tooltip with details of what this option does. For example, if you click the tablet icon, you’ll see the message, “When enabled this setting will hide the slide on screen widths of 768px to 1023px”.
If you don’t want to use the mobile setting, you can disable this feature in the “Settings” area.

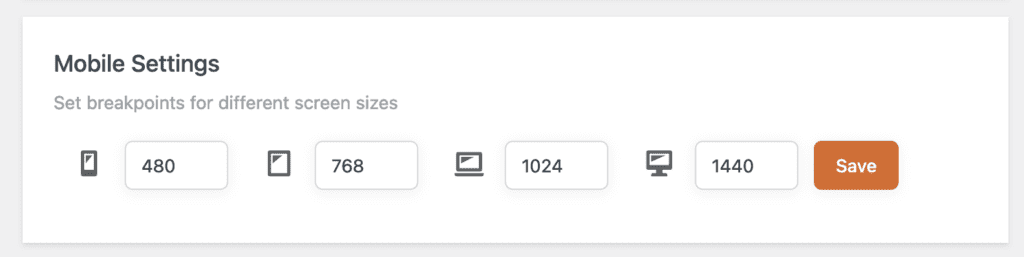
If these mobile settings are enabled, you will see the option to choose the breakpoints for the different device sizes.
Touch Swipe for Mobile Users
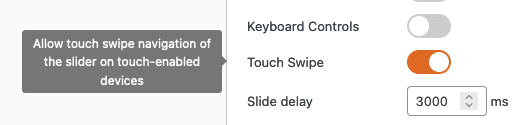
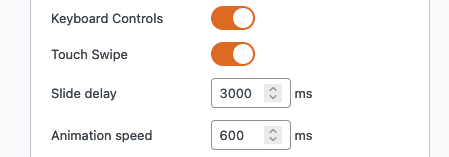
Also for mobile users, it’s now possible to use touch to navigate through MetaSlider slideshows. This means you can put your finger on a slideshow and use it to flip to the next slider. This allows you to manually swipe on phones, tablets, and some laptops and desktops. You’ll see the “Touch Swipe” setting in the sidebar when you’re editing each slideshow. We wrote an article with full details on Touch Swipe.
Custom Delay for Slides
For MetaSlider Pro users, you can now choose a custom delay for each slide. This is how long the slide remains on the screen before the next slide is shown.
In previous versions, there was a “Slide delay” feature.
Under the “Advanced” tab, there is now a custom delay option:
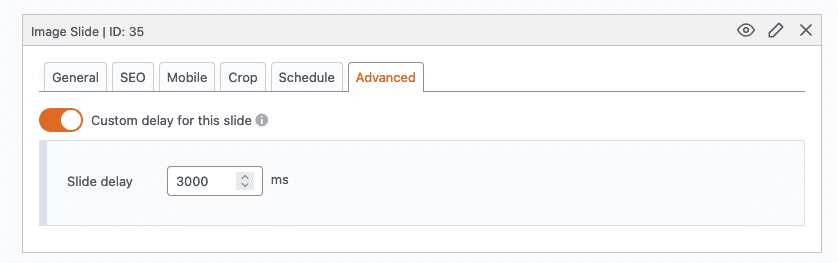
During the delay from one screen to another, you can customize the changeover using the “Effect” option to choose “Fade” or “Slide”. If you’re using “Slide”, you can also choose from dozens of Easing effects.
Get the best WordPress slideshow plugin
MetaSlider Slideshow is the best WordPress slider plugin.
You can show create stylish sliders using images, videos and more.