We had this question from a MetaSlider user: “Can we create a slideshow thumbnail that appears under the main image?”
Yes, you can do this with MetaSlider, and we’ll show you how it’s done in this guide. Using thumbnail images for navigation can be a stylish alternative to using numbers or arrows for visitors to browse your slideshow.
Table of Contents for this post
Introducing thumbnail navigation for a slider
This image below shows a preview of thumbnail navigation. Users can click on any of the four lower images and they will see the larger version of the photos.

This MetaSlider technique can work for simple images, but can also used be used for more complex layouts, such as for WooCommerce products. This screenshot below shows thumbnail navigation for a series of WooCommerce products. Click here for our WooCommerce slider guide.

How to build thumbnail navigation on a slider
- Install both MetaSlider Free and MetaSlider Pro. This guide shows how to install both plugins.
- Go to “MetaSlider” in your WordPress admin menu.
- Click “New” in the top toolbar and create a new slider.
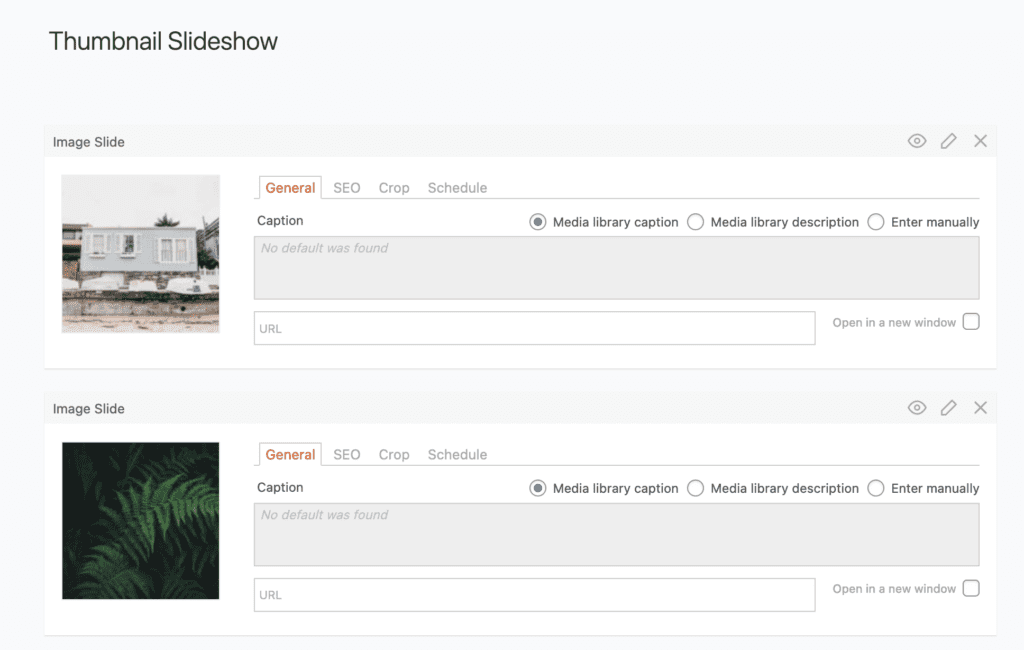
- Click “Add Slide” and add “Image Slides” to your slider. This screenshot below shows how Image Slides appear in the WordPress admin area.
- To have enough images for thumbnail navigation, I’d recommend adding at least four Image Slides.

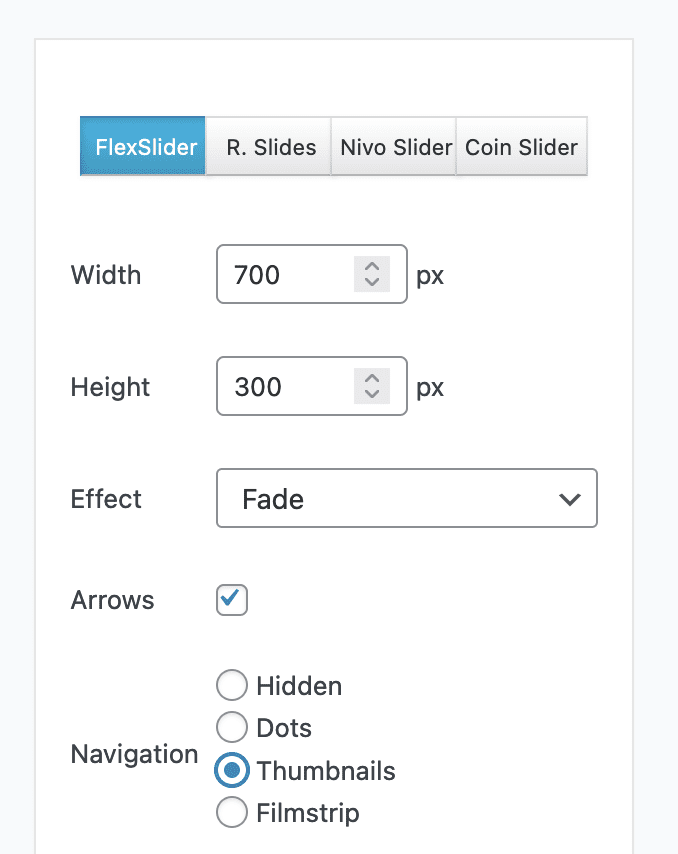
- In the right sidebar of the MetaSlider screen, choose “Thumbnails” for the “Navigation” option.

Place your slideshow on the front of your site. You can use the shortcode, the widget, the Gutenberg block, or several other options. This screenshot below shows a slider placed into a post using a shortcode.

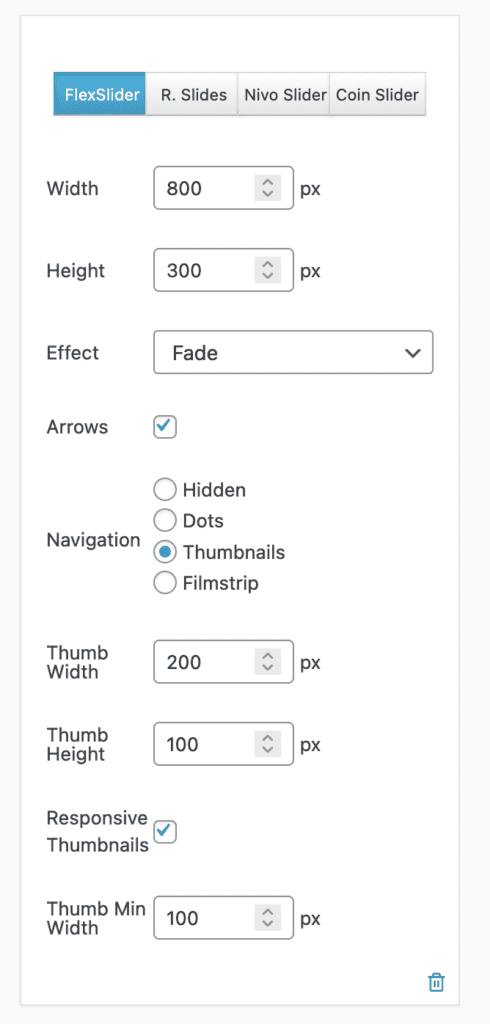
When you place the slider on your site, you may notice that the thumbnails don’t quite match the width of the main image. If you want these to match exactly, go back to the MetaSlider admin area and experiment with some width changes. In this screenshot below, I’m using four thumbnails so I’ve set the overall “Width” to 800px and the “Thumb Width” to 200px. Checking the “Responsive Thumbnails” box will help your images adapt to the space they are placed in.

This next screenshot below shows the final result with “Width” set to 800px and “Thumb Width” set to 200px.

It’s also worth noting that the “Filmstrip” option is very similar to “Thumbnails”. The difference is that the navigation thumbnails won’t all appear at once but will move as the user navigates through the slideshow.

Customizing your Thumbnail Navigation
There are many ways you can customize the relatively simple slideshow in this tutorial. You could use this feature on a WooCommerce slider. You could build a display of recent posts, or add a carousel effect. You could even use thumbnails for a YouTube slider, as in this final screenshot:

