In this guide, we’ll show you how to install and use MetaSlider Slideshow Pro or MetaSlider Gallery Pro.
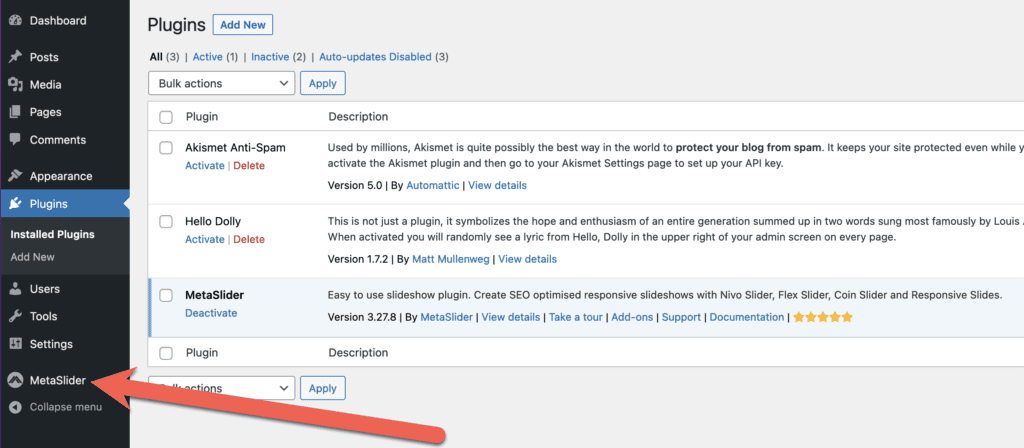
Before you install the Pro version, please follow this guide to make sure you have the Free version of your plugin installed. You should see a MetaSlider link in your WordPress admin menu, as in the image below.
You are now ready to install the Pro version of your plugin.
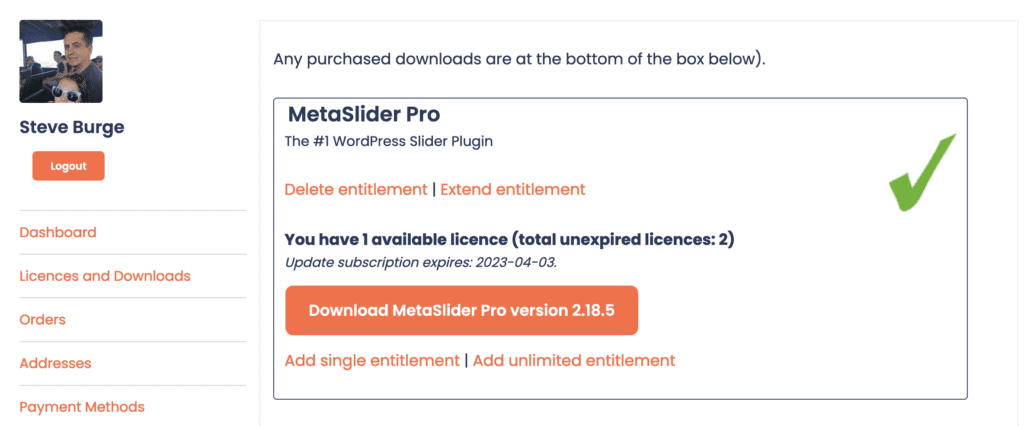
- Log in here to MetaSlider.com.
- Click “Licenses and Downloads” in the sidebar.
- Click the big orange “Download MetaSlider Slideshow Pro” or “Download MetaSlider Gallery Pro” button.
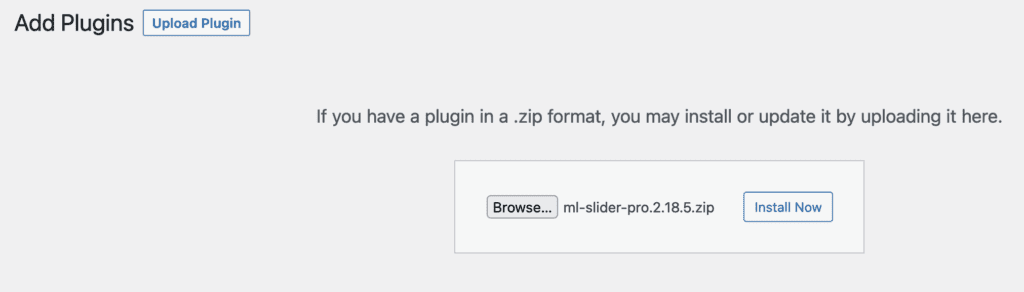
Now it’s time to go to your WordPress site and install the plugin.
- Go to the “Plugins” link in your WordPress site.
- Click “Add New”.
- Click “Upload”.
- Click “Browse” and select the file from your desktop.
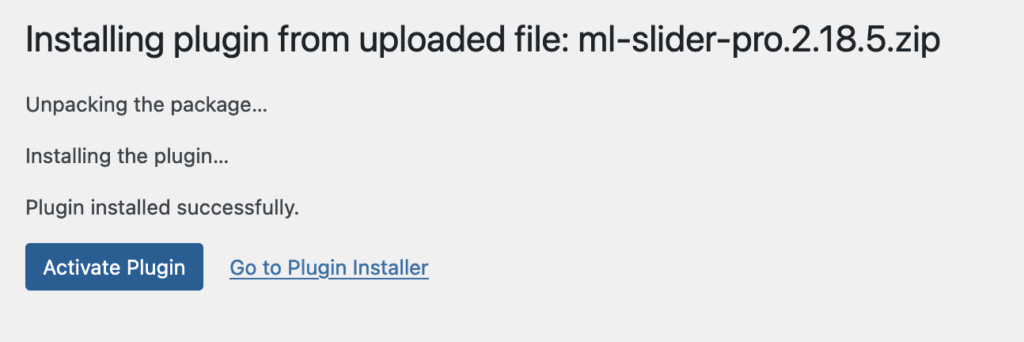
- Click “Install Now”.
- Click “Activate Plugin”.
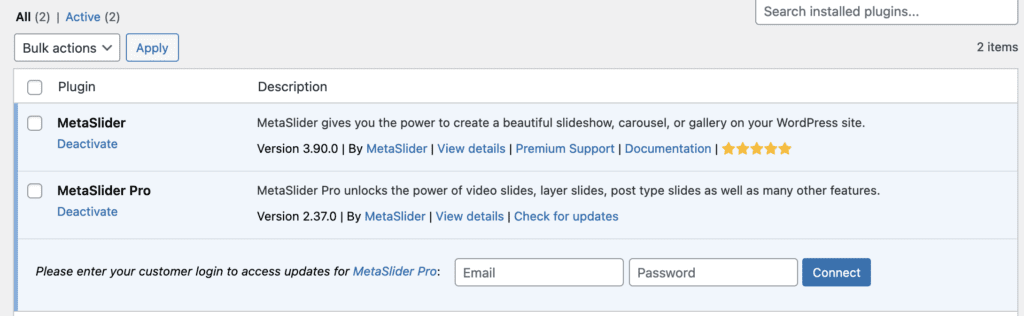
- You will see both the Free and the Pro version installed on your site.
- Finally enter your customer login information on this screen. Enter the email and password that you use for MetaSlider.com.
- Congratulations: your Pro version is ready to use.