This feature requires the MetaSlider Pro plugin.
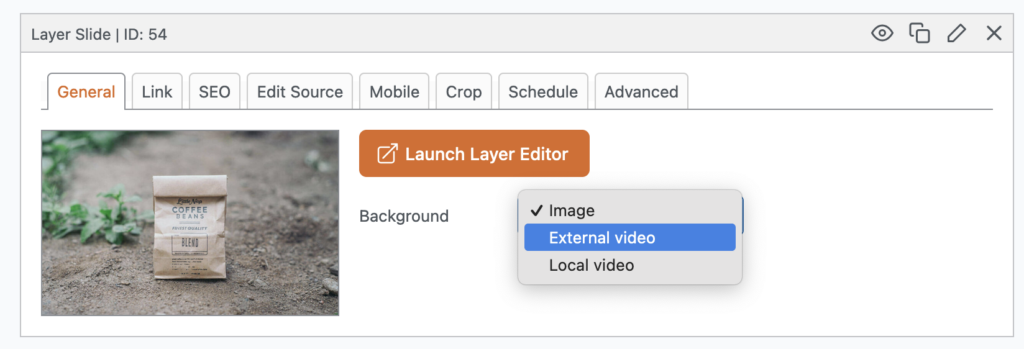
When you’re using the Layer Slides feature in MetaSlider, it is possible to add video backgrounds to your slides. You will have a default image for your slide, but this video will show instead of the image.
- Go to “MetaSlider” in your WordPress admin menu.
- Edit an existing Layer Slide or add a new Layer Slider.
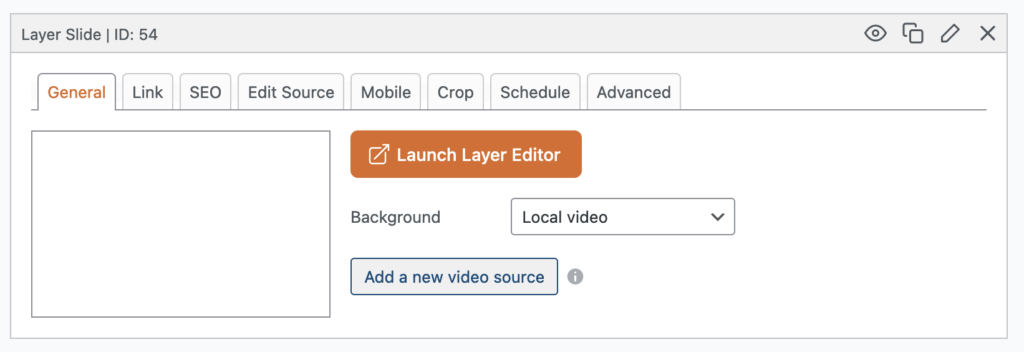
- Choose what type of video background you want to use.
- Click the “Add a new video source” button.
- If you selected “Local video”, choose a video from your Media Library. If you selected “External video”, enter the video URL.
- You have now completed the process. You can click the “Launch Layer Editor” button to build your slide.