This guide will show you how to create a “full width” layout for your MetaSlider slideshow. The aim is to create a slideshow that will stretch from one side of the browser window to another.
How you create a “full width” layout will depend on your theme, so please read this guide to understand the best approach for your site.
Full-width options #
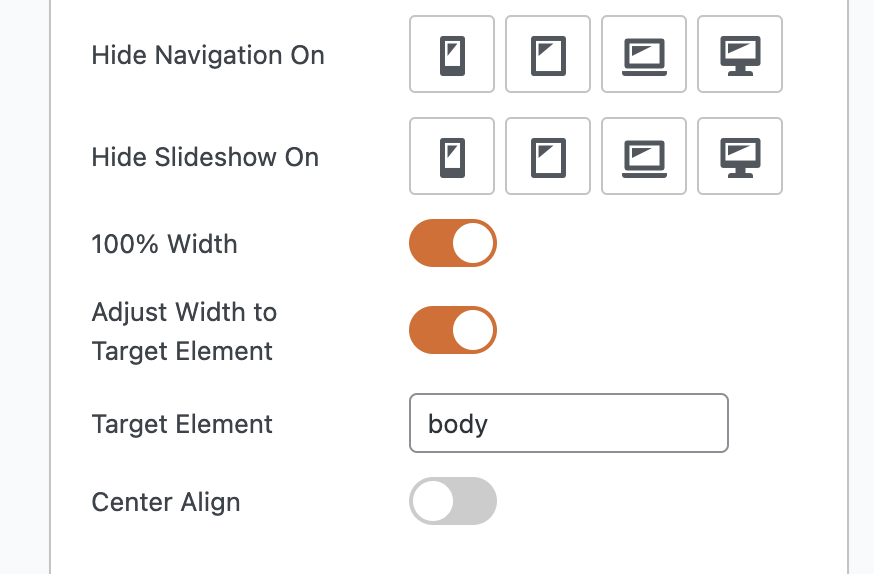
It is possible to force slideshows to take up the full width of your site using the settings in the screenshot below.
- 100% Width: This is the default option. The slideshow fills up the space it’s placed into. So if you put a slideshow inside a blog post, it will take up the full width of that post.
- Adjust Width to Target Element: This will force your slideshow to take up the full width of any other element on the screen. The default choice is “body” which for most themes will mean the full width of your screen.
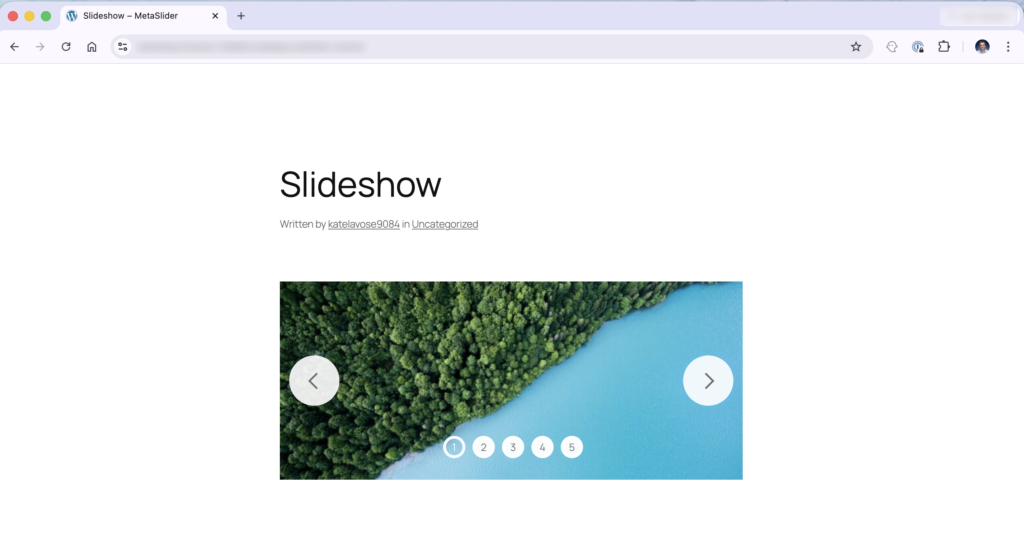
Let’s see a before-and-after comparison. Here’s the old setting that only has the “100% Width” enabled. The slideshow is taking up the full width of the post area.
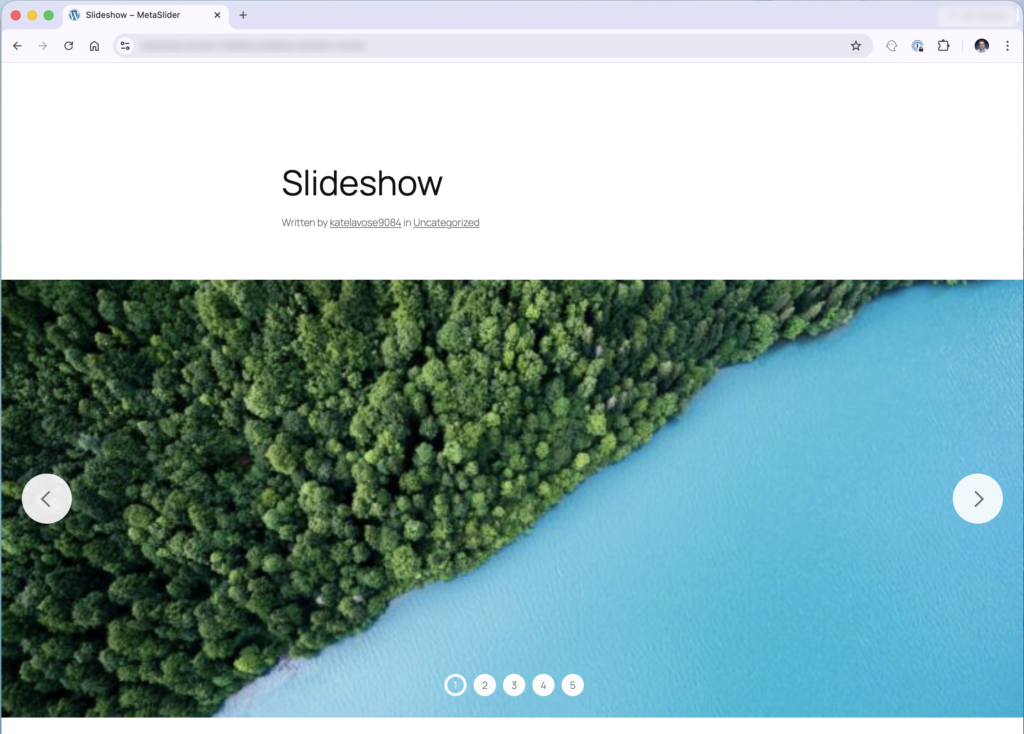
In the next screenshot we’ve enabled the “Adjust Width to Target Element” setting. Now the slideshow really does take up the full width of the screen. The slideshow now takes up the full width of the “body” element, instead of the post.
More about full-width slideshows #
If the settings in the first part of this guide don’t work, you may need to make sure your slideshow is inside a full-width theme area.
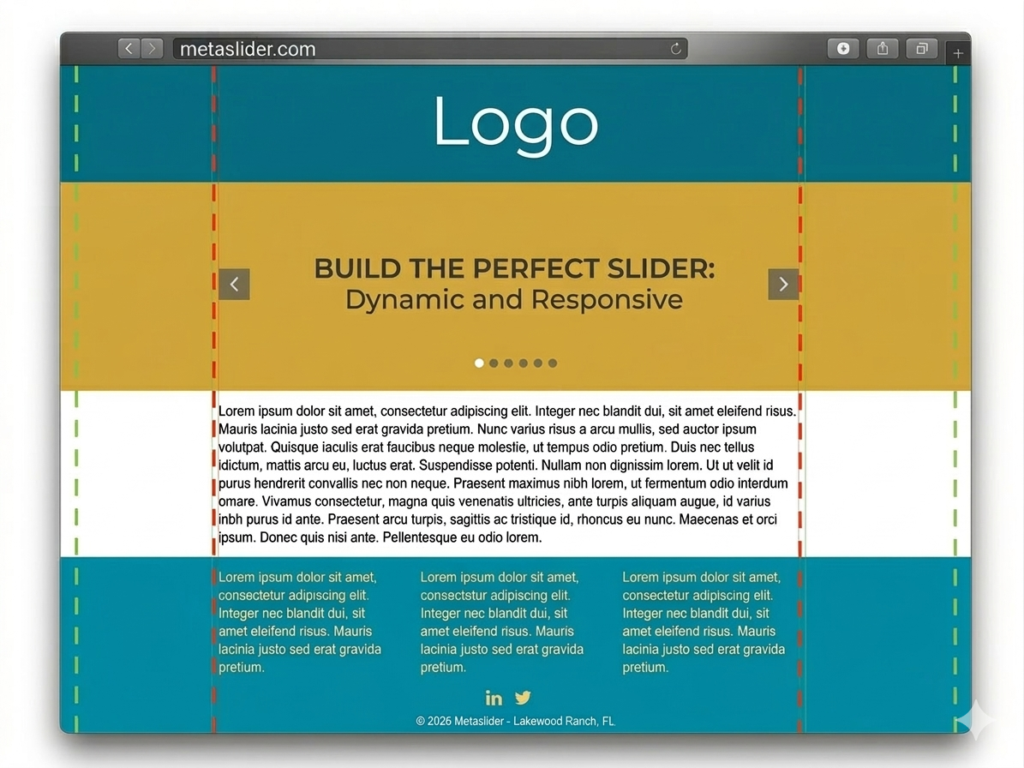
In this image below, the yellow “slider” area is ideal for creating a full-width slideshow. Ideally your theme will have an area like this where you can place your slider.
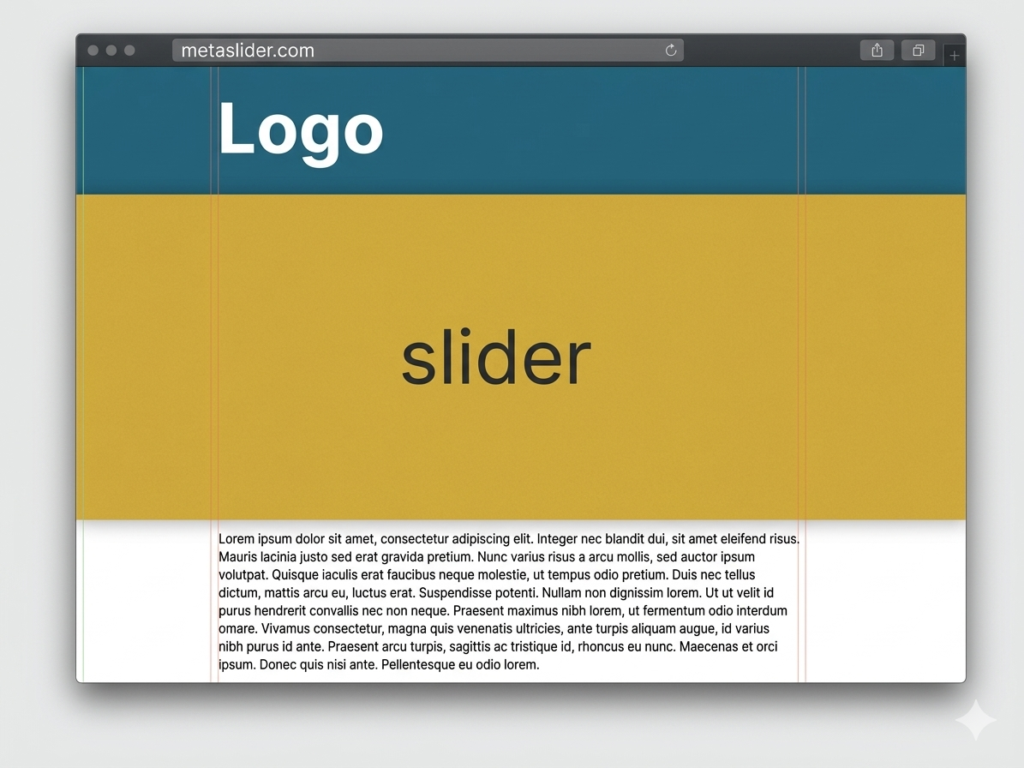
To create a full-width slideshow, you can place your slideshow post or page. However, it will show full-width by default. This is because most WordPress themes have a central content container, shown with the red dashes in the image below. You will need to enable the “Adjust Width to Target Element” setting.