This feature requires the MetaSlider Pro plugin.
MetaSlider is the most popular slideshow plugin for WordPress and it integrates closely with WooCommerce, the most popular eCommerce option for WordPress.
In this guide, we”ll show you how to create a slideshow of WooCommerce products using MetaSlider Pro. This slideshow will update automatically showing the products in the WooCommerce categories you choose.
The WooCommerce slide type allows you to showcase products from your WooCommerce store. You can add display any of details and images for your products along with an “Add to Cart” button.
- Click the “Add Slide” button to launch the Media Manager.

- Select “WooCommerce” from the left sidebar.
- Choose the source products. You can choose either “Filter by taxonomies” or “Filter by products”.
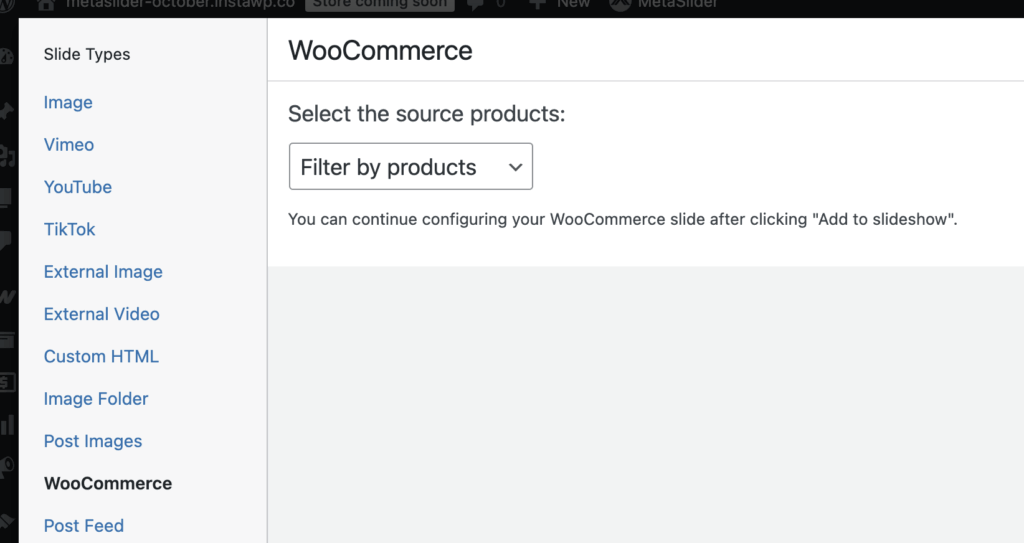
- Click the “Add to slideshow” button.
- The Media Manager will close and your WooCommerce slide will be added to your slideshow.
One slide box will allow you to customize the slides for all your WooCommerce products. By default the options will generate 3 product slides. You can adjust the options in the “Post Filters” and “Display Settings” tabs to get a different display.
The “Caption Template” tab allows you to configure the parameters used for the slides.
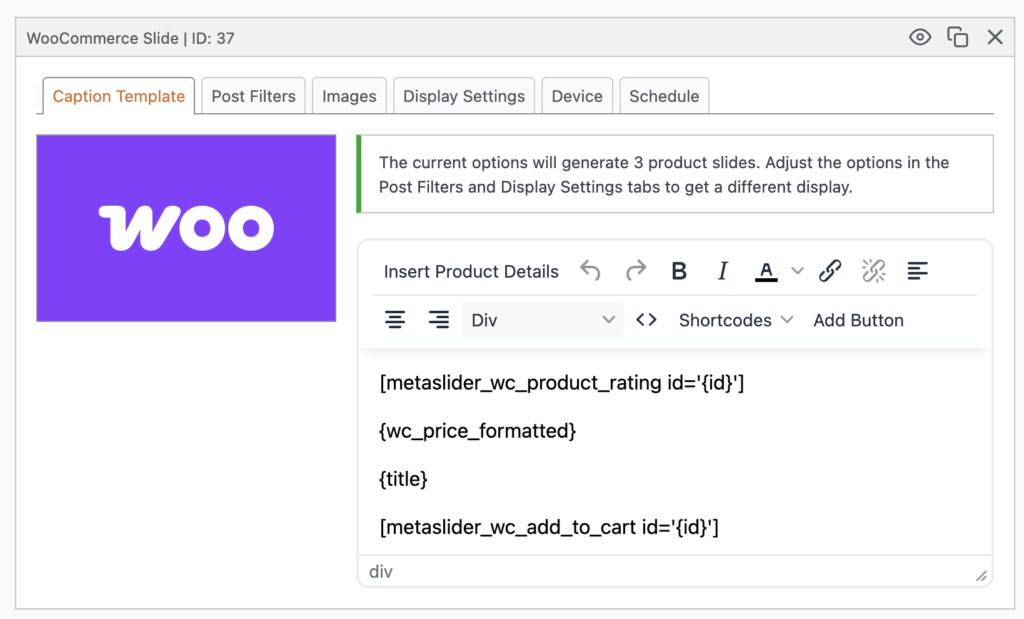
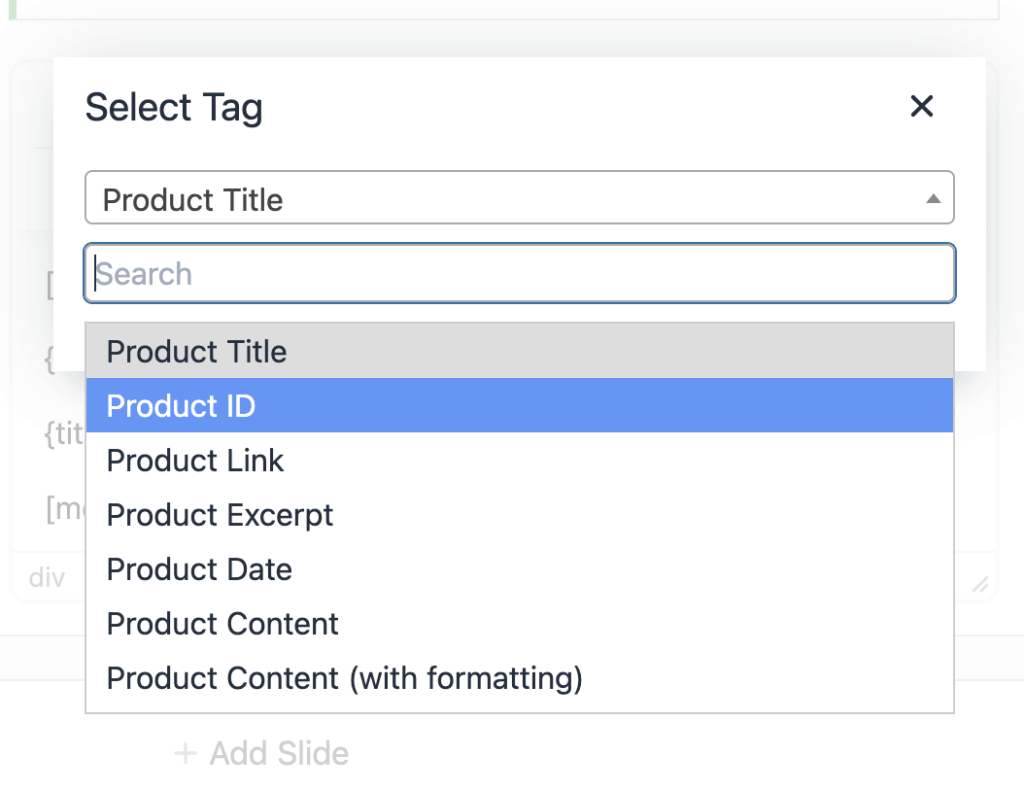
Click on the “Insert Product Details” button and you’ll be able to choose items to add to the slide display. Here are the details you can add:
- Product Title
- Product ID
- Product Link
- Product Excerpt
- Product Date
- Product Content
- Product Tags
- Product Categories
- Price
- Sale Price
- Add to Cart URL
- SKU
- Product Attributes
- Total Sales
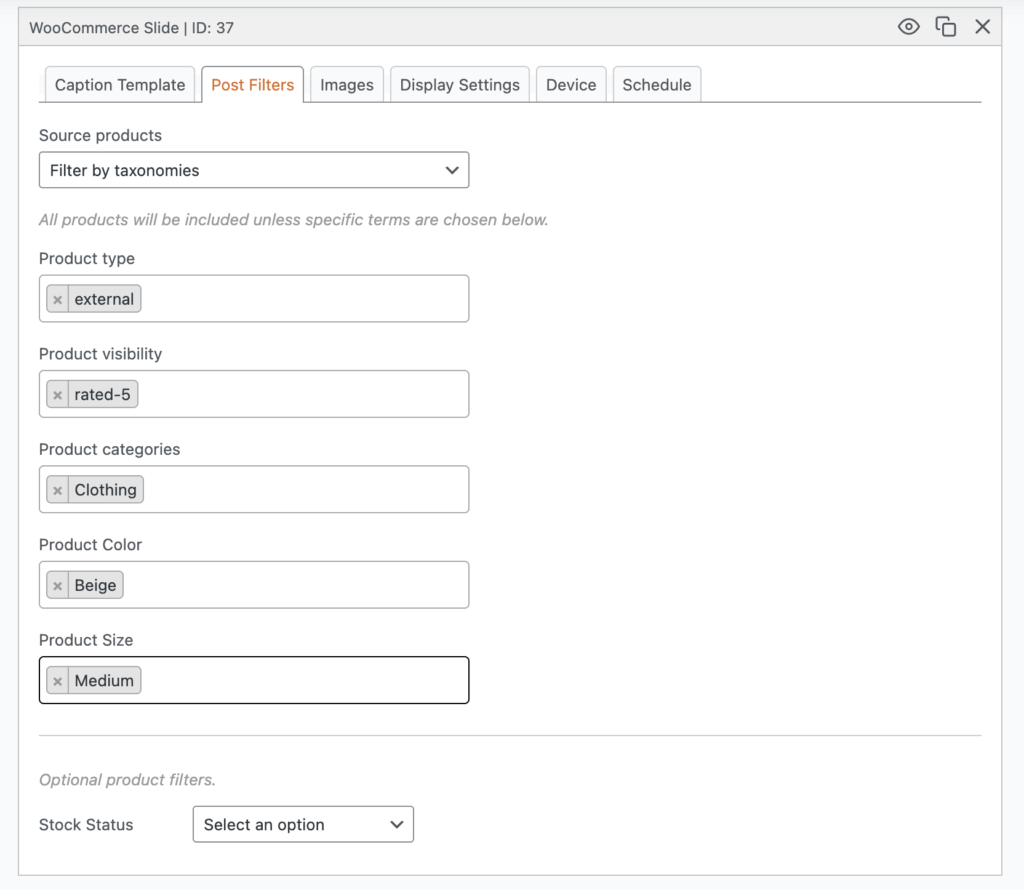
Under the “Post Filters” tab you can filter using the WooCommerce taxonomies to decide which products to show:
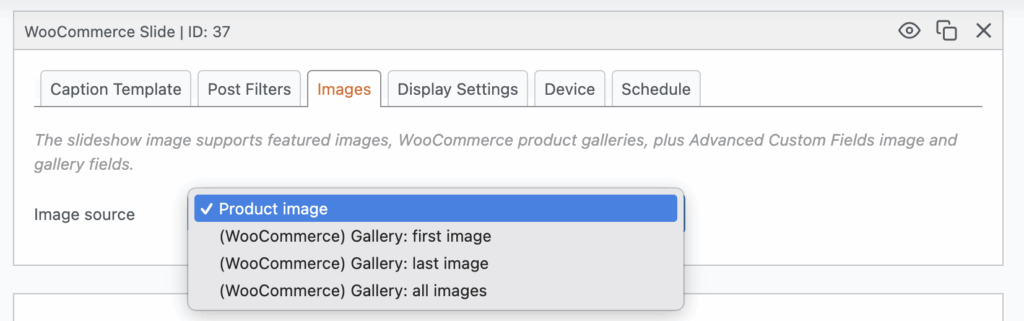
Under the “Images” tab, you can choose from several WooCommerce image options:
There are two themes designed specifically for use with WooCommerce slides: Zonora and Handimart.