Table of Contents
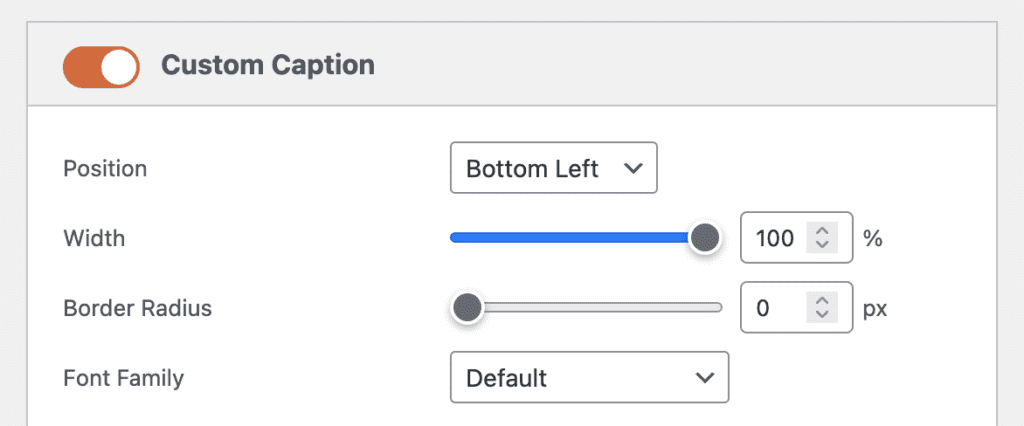
The Theme Editor feature in MetaSlider Pro allows you to choose different fonts to use for your slideshows.
By default, these custom fonts will be loaded from a Google website. If you don’t want to do this for privacy reasons, it is possible to host the fonts on your website.
Please note: If you choose “Default” for the “Font Family” setting, MetaSlider will never connect to an an external website. This guide is only relevant if you choose a custom font for the “Font Family” setting.
Option #1: Use a Plugin
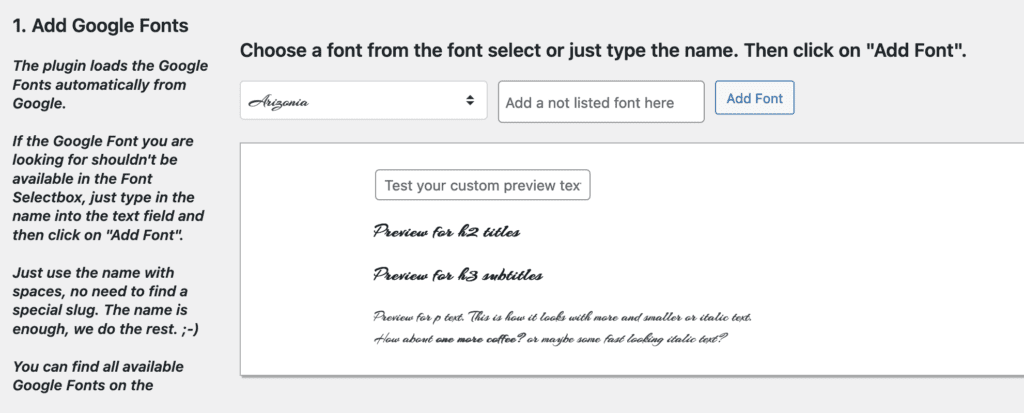
There are plugins available to make it simpler to use self-hosted fonts. One plugin we’ve tested is TK Google Fonts.
- Install the “TK Google Fonts” plugin.
- Go to “Appearance”, then “TK Google Fonts”.
- Choose the font you want to use from the dropdown.
- Click the “Add Font” button.
- Your font is now hosted on your site and there is no connection to any Google site. Your MetaSlider slideshow will be able to use your chosen font.
Option #2: Manually Add Fonts to Your Site
This second option is for users who have some technical experience.
- The first step is find the name of the font you want to download.

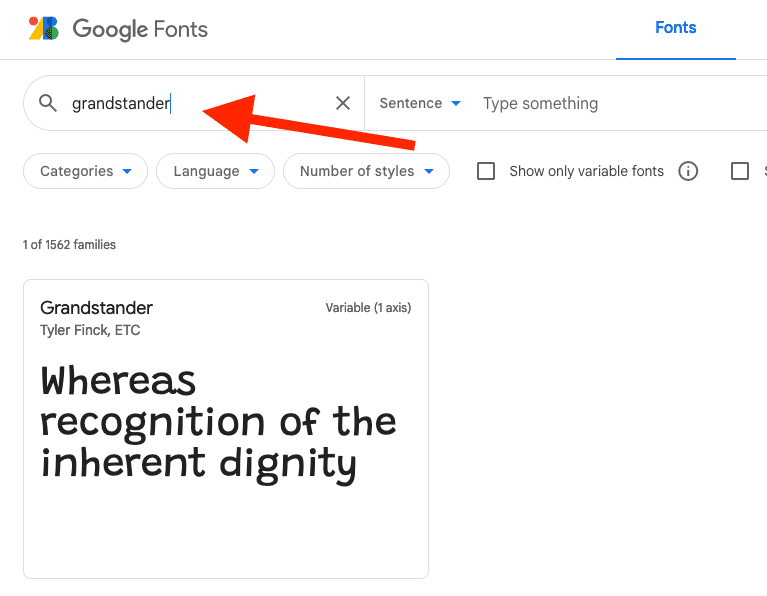
- Go to https://fonts.google.com and search for the font you selected in MetaSlider. In this example we’re using the “Grandstander” font with “600” weight and “italic” style.
- From the available styles, select the one that matches the “Font Weight + Style” setting in MetaSlider. In this example, we select “600 + italic”.

- Click “View selected families” in the top-right of your screen to reveal the font embed settings.
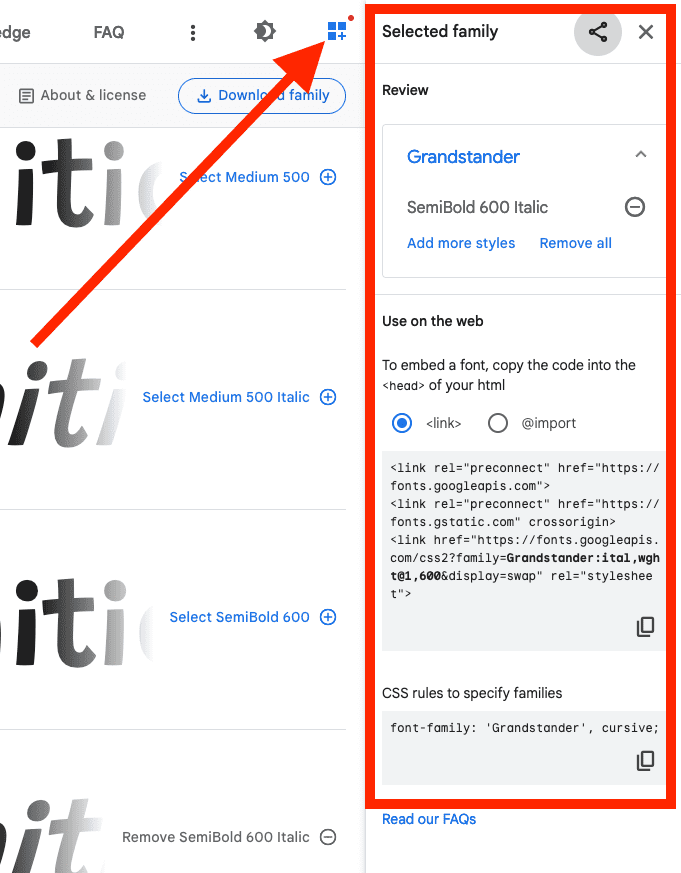
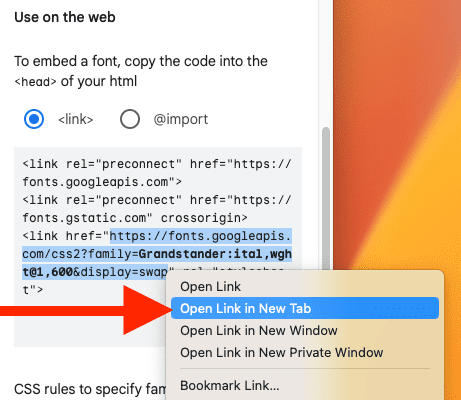
- Select URL of the font hosted in Google and open in a new browser tab.
- You’ll see the CSS that loads and defines the Google font. Save each .woff file and upload to a directory on your website.
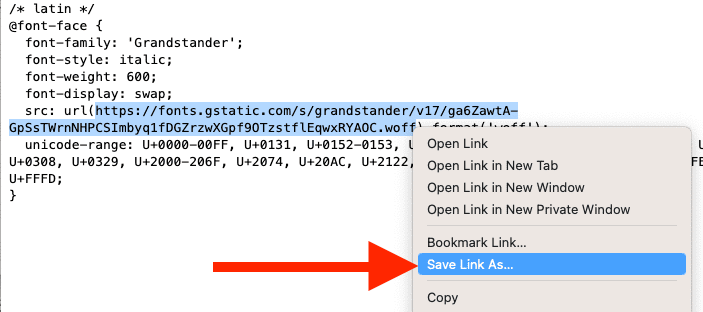
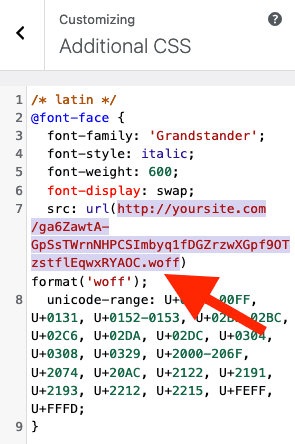
- In WordPress, go to Customize > Additional CSS and add the same CSS from previous step but replacing the URL of the woff files to point to the copy hosted in your site.
- That should complete the process of self-hosting the fonts and you can now test your MetaSlider slideshow.
