If you have ended up here, then there is a good chance we have instructed you to add some CSS to your themes style.css file in order to fix a MetaSlider styling issue.
Editing your theme’s style.css file is not strictly the only way to get some custom CSS into your site, you have a few options which we’ll go through below.
Option #1. The “Add CSS” button in MetaSlider Pro #
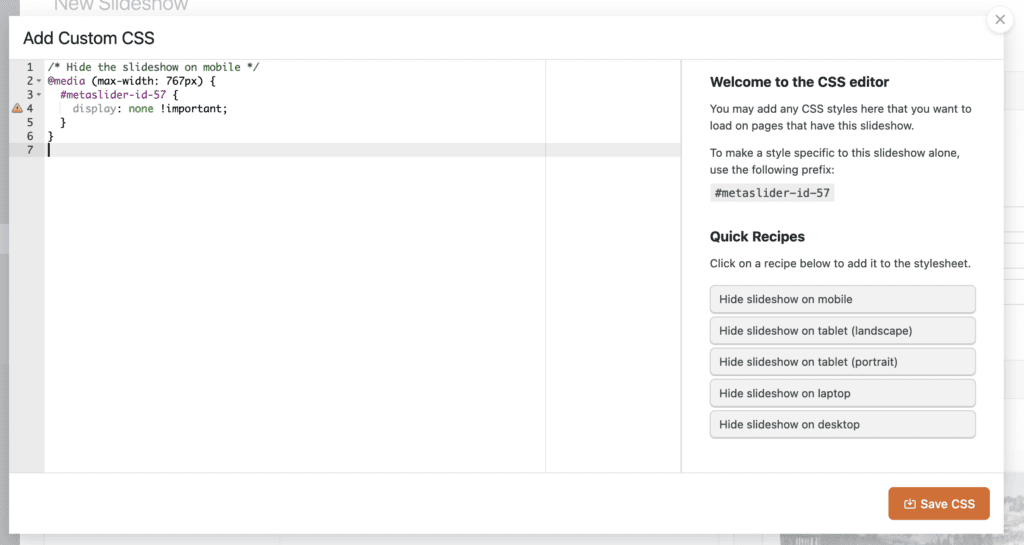
MetaSlider Pro offers an “Add CSS” button where you can add CSS directly to your slideshows.

You can use this window to add any CSS styles here that you want to load on pages that have this slideshow. One big advantage to this option is that the CSS will only load only on your site’s front-end when it is needed.

Option #2: Edit your theme’s style.css file #
This is probably the fastest way to get some custom CSS onto your site, but should only be used if you have created a child theme. If you have not created a child theme, and do not wish to make one, then take a look at option #2 or #3 instead.
- Go to Appearance > Editor and select “style.css” from the list of files on the right. This will load up the style.css file into the editor.
- At the bottom of the file, on a new line, paste in the custom CSS.
- Save the file.
- Remember to clear any WordPress cache plugins (W3 Total Cache, WP Super Cache etc), and clear your browser cache in order to see your changes.
Option #3. Use your theme’s “Custom CSS” option #
Depending on your theme, you may have a “Custom CSS” option. Take a look under the “Appearance” menu, or maybe in the Theme Settings. If you have this option then you can use it for MetaSlider CSS.
Option #4. Use the Simple Custom CSS plugin #
Install Simple Custom CSS by going to Plugins > Add New, and searching for “Simple Custom CSS”.
After installation, go to Appearance > Edit CSS and paste in your custom CSS.
