
MetaSlider helps you create stylish slideshows by automatically cropping your images to a standard height and width. This feature can be disabled if you don’t want consistent image sizes.
The Image Crop Options #
When you’re editing a slideshow, look for the “Image Crop” dropdown. You will see four options:
- Smart Crop: This will automatically crop all your images to the “Width” and “Height” dimensions in set inside your slideshow. You can control which area of the image is shown using the settings shown in the next step of this tutorial.
- Standard: This will automatically crop all your images to the “Width” dimension set inside your slideshow. The “Height” dimension will be adjusted proportionally based on the “Width”.
- Disabled: This will disable all image cropping options. You can use the “Smooth Height” option to make sure the navigation arrows are always visible, no matter the image size.
- Disabled (Smart Pad): This is the best option for slideshows with a mixture of different image sizes. Smart Pad works by disabling MetaSlider’s image cropping features. Instead, the Smart Pad feature will automatically add padding to portrait images. Click for more on Smart Pad.
The Crop Tab for Image Slides #
Image Slides in MetaSlider provide a “Crop” tab. This option is effective if you are using the “Smart Crop” option.
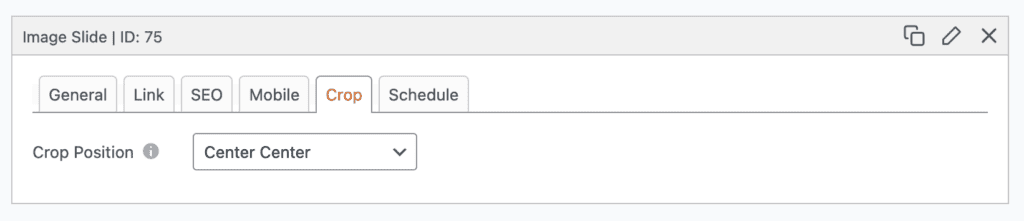
You will be able to choose how images are cropped if the original images do not exactly match the height and width of your slideshow.

Showing Larger Images #
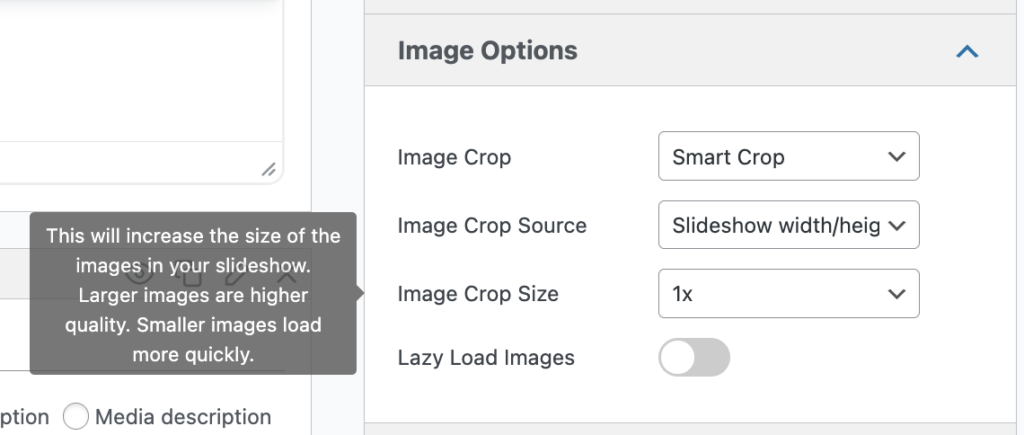
By default, MetaSlider will crop your images to the size of your slideshow. This is done because large images can slow down your site. We have some image size recommendations.
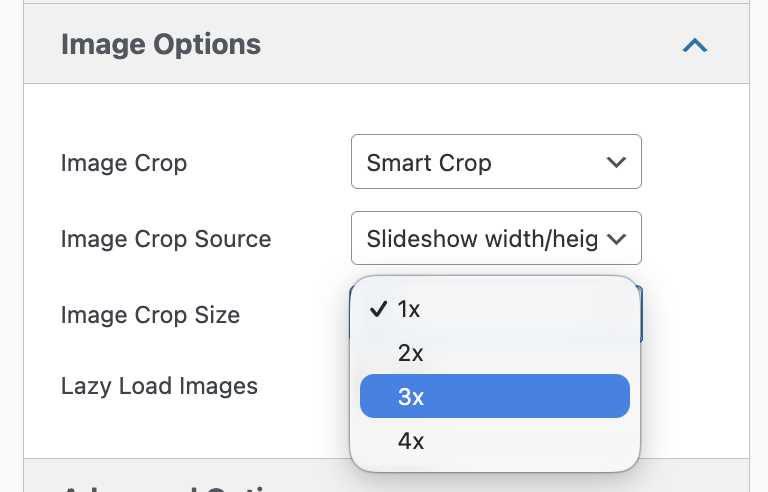
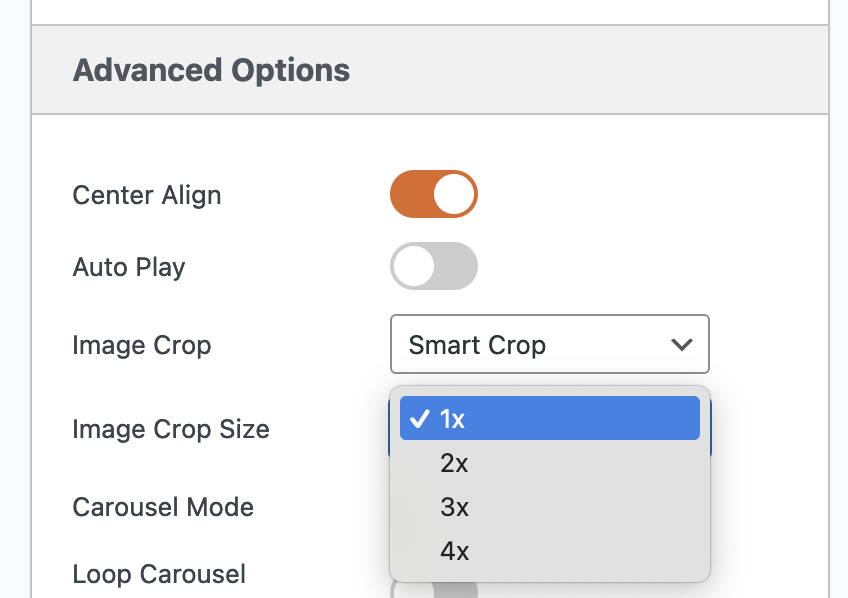
However, if you do want to show extra-high quality images in your slideshow, use the “Image Crop Size” feature. This can increase the resolution of the images you display.
Let’s see an example of how this operates. Imagine you have a slideshow that is 500px wide. Here’s how the “Image Crop Size” will work:
- 1x: This is the default. Your images will be cropped to 500px wide.
- 2x. If your image is large than 1000px wide, your images will be cropped to 1000px wide. The slideshow will display at 500px, but the image will have twice the resolution.
- 3x. If your image is large than 1500px wide, your images will be cropped to 1500px wide. The slideshow will display at 500px, but the image will have three times the resolution.
- 4x. If your image is large than 2000px wide, your images will be cropped to 2000px wide. The slideshow will display at 500px, but the image will have four times the resolution.
Showing Smaller Images (Pro) #
This feature requires the MetaSlider Pro plugin.
The “Image Crop Source” feature is available if you want to use images that are smaller than the slideshow. By default, MetaSlider will resize images using the main width and height of the slideshow. However, that will force smaller images to match the size of the slideshow.
If you want to use smaller images and not have them resized, go to “Image Crop Source” and select “Custom width/height”. You will then have the option to choose a width and height that is smaller than the main width and height.
Troubleshooting the Image Crop Feature #
Here are some things to check in case the image is not showing as cropped:
- In some cases, we’ve seen that the image was indeed cropped but browser kept showing the old image. This is because the name of the image doesn’t change. Try opening the image alone through the browser (right click over the image > “Open image in a new tab”) . Refresh a couple of times and see if the image reflects the change.
- Is your using a plugin to offload images to a service such as Amazon S3? Sometimes these plugin don’t correctly sync the cropped versions of each image.