
Table of Contents
MetaSlider Slideshow Pro can overlay an image, like a logo, on top of your slideshow. This requires MetaSlider Slideshow Pro.
How to Add a Watermark to Your Slideshow (Pro) #
-
Open the slideshow you want to edit, then look for ‘Watermark Options’ in the settings panel on the right and click it to expand. Turn on ‘Watermark’.

-
Click ‘Choose Watermark Image’ and pick an image from your media library.

-
Choose where the watermark sits with ‘Position’, and set its ‘Width’, ‘Margin’, and ‘Opacity’.
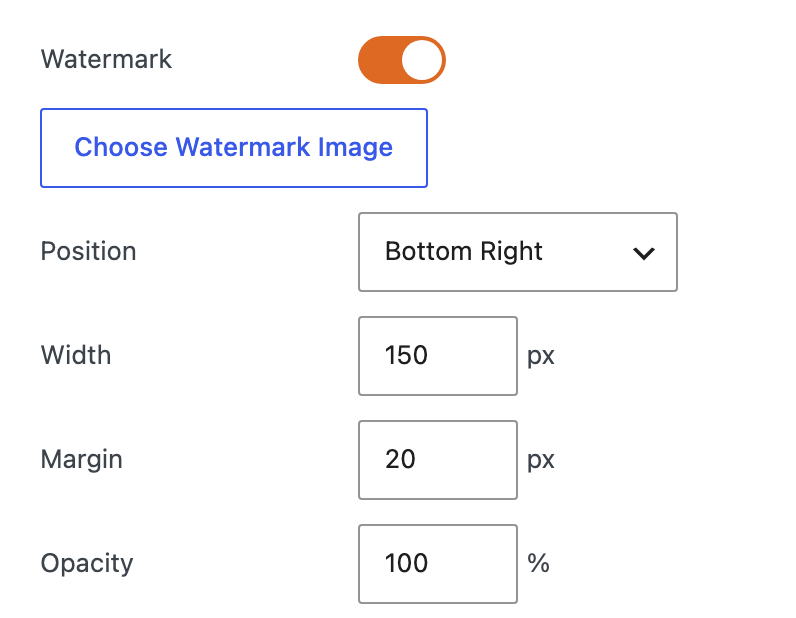
- ‘Position’ picks one of nine spots for the watermark: top, center, or bottom, each combined with left, center, or right. It sits in the bottom right corner by default.
- ‘Width’ sets how wide the watermark image is, in pixels. It’s 150px by default — the image’s height follows automatically, keeping its own proportions.
- ‘Margin’ sets the distance, in pixels, between the watermark and the edges of the slideshow, 20px by default. Centered positions ignore this, since there’s no edge to measure from.
- ‘Opacity’ sets how transparent the watermark is, from 0 to 100%. It’s fully opaque (100%) by default — lower it to make the watermark blend into the slides underneath.
Your slideshow now shows the watermark image you chose, positioned and sized the way you set it.